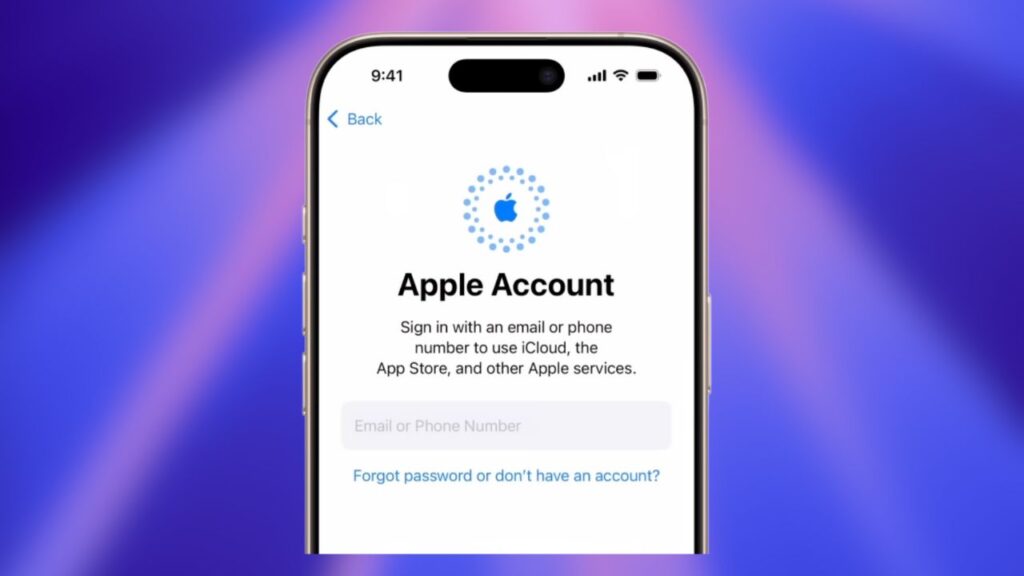
Creating an Apple ID is the very first step if you want to use iCloud, download apps from the App Store, or access other Apple services. In this guide, I’ll walk you through the process of setting up a new Apple ID directly on your iPhone.
For this tutorial, I’m using an iPhone 16 Pro, but don’t worry—the steps are the same if you’re on an iPhone 17 or any other recent model.
👉 If you prefer watching instead of reading, I’ve also made a video guide, which I’ve embedded below.
1. Open Settings
- On your iPhone, go to the Settings app.
- Right at the top, you’ll see an option to Sign in to your iPhone. This is where you’ll start the process.
- Tap on it.
2. Begin Creating Your Apple ID
- A dialog box will appear. Tap on Don’t have an Apple account?
- Apple gives you different account types based on age:
- Under 12 years → Child account with restrictions.
- 13–17 years → Teen account with some parental oversight.
- 18+ years → Standard adult account (most people will choose this).
- Select the one that applies to you and move ahead.
3. Enter Your Personal Information
- You’ll be asked to type in your first name, last name, and date of birth.
- To set your birthday, tap on the day first, then scroll through the month and year.
- Once done, hit Continue.
4. Choose an Email Address
- Your email will serve as your Apple ID username. You have two options:
- Use an existing email address (like Gmail, Outlook, etc.)
- Get a free iCloud email (e.g., yourname@icloud.com).
- If you want the iCloud option, select Don’t have an email address? → Get an iCloud email address.
- Type in your preferred iCloud address. If it’s not available, tweak it with numbers or variations.
- Decide whether you’d like to receive Apple’s marketing emails.
- Tap Continue and, if you’re creating a new iCloud address, confirm by tapping Create Email Address.
5. Create a Strong Password
Your password should meet Apple’s requirements:
- At least 8 characters long
- Include uppercase and lowercase letters
- Contain at least one number
Enter it twice to confirm, then tap Continue.
6. Verify Your Phone Number
- Apple will ask for a phone number for verification.
- You can either use the number already on the device or select Use a different number.
- Choose how you want to verify: Text message or phone call.
- Enter the code you receive. If the code doesn’t arrive, you can request it again, switch methods, or verify later.
7. Accept Apple’s Terms and Conditions
- Go through the terms if you’d like.
- You can also send a copy to your email for later.
- Tap Agree to continue (this step is mandatory).
8. Choose Data & iCloud Options
- Apple may ask if you want to merge existing data (contacts, notes, etc.) on your iPhone with iCloud.
- If you’re switching from a different Apple ID, you can:
- Tap Continue to replace existing data, or
- Tap Other options → Continue anyway and merge to keep both.
- Confirm your choice and enter your iPhone’s passcode to finish.
✅ That’s it! Your Apple ID is now ready. You can use it to:
- Download apps and games from the App Store
- Back up files and photos with iCloud
- Sync your data across all Apple devices
⚠️ Troubleshooting Tip: If you see an error like “Could not create Apple ID”, don’t worry. I’ve made a separate video explaining possible fixes—check it out on my channel.
Final Words
Setting up an Apple ID may look like a long process, but it only takes a few minutes. Once done, your iPhone is fully ready to enjoy all of Apple’s services.
