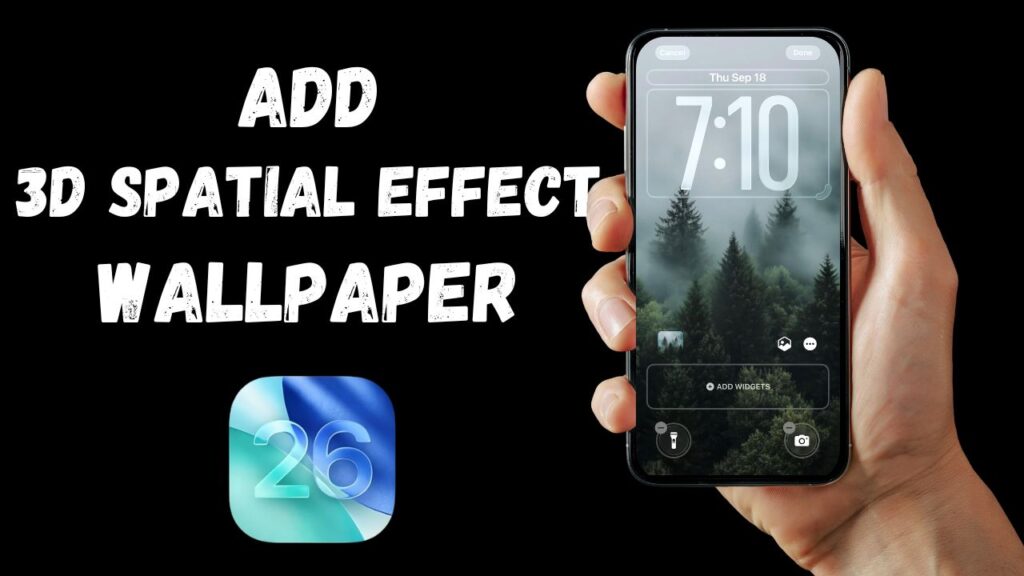
Apple has introduced a brand-new feature in iOS 26 that lets you add a 3D spatial effect to your lock screen wallpapers. This effect adds depth to your lock screen, making it look dynamic and stunning.
In this guide, I’ll show you step by step how to set up and customize a spatial effect wallpaper on your iPhone.
Ensure your iPhone is updated to iOS 26 before you begin.
Also, if you prefer watching instead of reading, I’ve made a video guide which I’ve embedded below.
1. Enter Wallpaper Customization Mode
- From your home screen, swipe down to open the Notification Center.
- Long-press on the space until you see the customization options.
- You could apply the effect on your existing wallpaper by tapping Customize, but I’ll show you how to start fresh.
2. Add a New Wallpaper
- Swipe left on your screen.
- Tap the + (plus) button.
- You’ll now see featured wallpapers offered by Apple, but let’s add a photo of your choice.
3. Choose a Photo
- Tap Photos at the top.
- Switch to All to view your complete gallery.
- Select the image you want to apply.
💡 Pro Tip: This effect works best with photos that have a clear subject in the foreground, like a person, pet, car, or object. That way, the spatial effect stands out more.
4. Apply the Spatial Effect
- After picking your photo, tap the spatial effect icon.
- The wallpaper will instantly transform into a 3D scene.
5. Customize Your Lock Screen
- Adjust the clock size, add widgets, or keep it minimal—totally up to you.
- When you’re satisfied, tap Done.
- On the pop-up, select Set as Wallpaper Pair to apply it.
That’s it! You’ve successfully set a spatial effect wallpaper on your iPhone. Try experimenting with different images to see which ones look the most impressive.
