Today, we are living in a Digital World. We have numerous options within our reach for sending documents including email and IM. However, even today, fax is among the most preferred modes of official communication.
One of the most common modes of communication that we have today is Gmail. Using it, you can send emails, attach documents, and a lot of other things. But, there is one functionality offered by Gmail that not a lot of people know about and that is – Fax Service.
Yes, CocoFax helps you with the Gmail fax service. As a part of this service, you have the option of sending a fax from your Gmail. You won’t need a fax machine or toner. And this is possible because of an online fax service that offers a compact fax solution.
Send and Receive Fax in Gmail
Thanks to the multitude of innovative solutions available today, sending a fax using Gmail is extremely easy. In fact, many companies have started using Gmail fax in their daily workflows.
However, you can’t just send an email directly to a fax number and expect it to be received by the other side. Remember that faxes and email are different platforms that have completely different structures. Emails work on a digital platform whereas you need analog telephonic signals for faxes.
What you need is a translator so that the two mediums are able to understand each other. A third-party online fax service provider can help you with this.
Send Fax in Gmail
Once you get an understanding of the process, you will be able to send a fax using Gmail easily. As mentioned above, you need an online fax service provider for translating the communication from fax to email and vice versa.
But, you cannot just select any service provider. The reliability and security fax communication offer is the reason why people use fax. So, you need to find a service provider that is reputed and sends your faxes to the correct location.
CocoFax
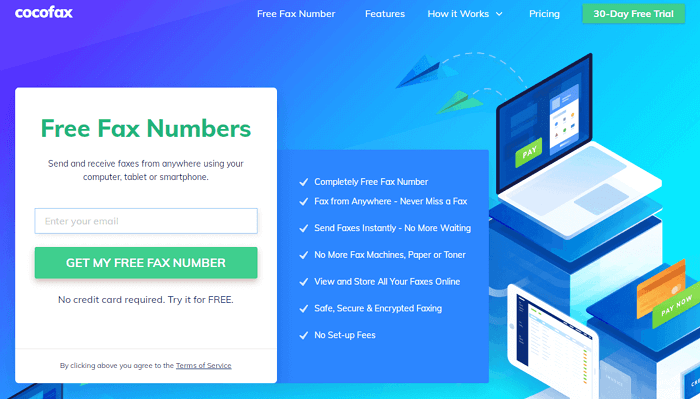
CocoFax is among the featureful and popular online fax service providers in the market. Through its fax solutions, you can transform your computer, laptop, and mobile into devices capable of faxing.

CocoFax is able to facilitate this by offering solutions such as fax to Gmail and Gmail to fax, which has ended being the most popular and widely used feature of CocoFax. The best part about this is that it is extremely easy to use. The whole process is quite similar to sending an email; something used by everyone on a daily basis.
Here is what you will need to send a fax through Gmail:
- A Gmail account
- CocoFax account (for translating fax to email and vice versa for you)
- Internet connection
- Fax Number (if you don’t have one, you can get it from CocoFax for free)
If you have all the above-mentioned things ready, follow these steps to get started with faxing using Gmail:
- Visit the official website of CocoFax and start your free trial period of 30 days.
- Once you have signed up, you will be able to select your own fax number. Make sure that you use the same email address for registering on CocoFax that you will use for sending and receiving faxes.
- Open Gmail on the web browser or use the application. Select the option for composing a new email. A popup will appear.
- Compose your fax document in the popup. Here are the fields that you need to fill.
Usually, for the ‘To’ field, you had to enter the email address of the receiver. But instead, you will have to enter the country code of the recipient, their fax number followed by ‘@cocofax.net’. So, the recipient’s address will look something like this:
91987654@cocofax.net
Where 91 is the country code (in this case, India), followed by 987654, the fax number of the recipient, and @cocofax.net in the end.
Filling the ‘Subject’ field is completely optional. Anything that you write in the Subject will come on the top of the fax document.
Writing the body of the email is optional as well. If you do write something in there, the receiver will be able to see it on your cover page.
Now comes the most important part – the actual fax document. You can attach the fax document as an attachment to the email. The ‘Attach’ icon is a little paper clip generally located towards the lower end in the case of Gmail on a web browser and in the upper end in the case of the Gmail application.
You can fax a wide range of formats through Email including doc, docx, xlsx, xls, jpg, and png. You can even upload multiple documents at the same time. CocoFax will be merging the documents together and faxing them to the receiver and saving you from unnecessary hassle.
- Once you are done with drafting the mail, make sure that you double-check. If everything is fine, click the ‘Send’ button. This email will be received by CocoFax which will then dial the fax machine of the receiver as a fax document.
After your fax has been successfully delivered, a confirmation email will be sent to your Gmail inbox. In case the fax wasn’t delivered, you will get a notification of the same from CocoFax on your email.
Please note that the most plausible reasons for the unsuccessful delivery are that the fax machine of the receiver is busy, turned off or the fax number is incorrect. Theoretically, you won’t face any issues from CocoFax.
Receiving Faxes using Gmail
Receiving faxes on Gmail is even easier than sending one. You don’t even have to follow any steps.
Once you have registered with CocoFax using your email ID, all the faxes you receive will be forwarded to your email address. If you want to check if you have received any fax, just check if there is an email notification from CocoFax in your Gmail account. Any received fax document will be available to you in pdf format as an email attachment.
As you must have learned by now, faxing through Gmail is very easy; regardless of whether you are sending or receiving one. By following this guide, you will be able to use the Gmail fax service without any issues.


