Microsoft has officially rolled out Windows 11 24H2, the latest major feature update, making it available to everyone. With this update, you can enjoy enhanced performance, new features, and improved security.
In this post, we’ll guide you through the possible ways to seamlessly upgrade your system to Windows 11 version 24H2 and ensure you’re getting the most out of this latest release.
At the bottom of the post, you will find detailed step by step instructions video on how to download and install Windows 11 Version 24H2
Steps to Upgrade to Windows 11 Version 24H2
Press Win + I to open the Settings app on your PC. Navigate to the Windows Update tab.
(Follow this if update is unavailable) On the right side, ensure that the option to “Get the latest updates as soon as they’re available” is turned on.
After restarting, head over to the Windows Update settings page, click the Check for updates button, and wait a few seconds.
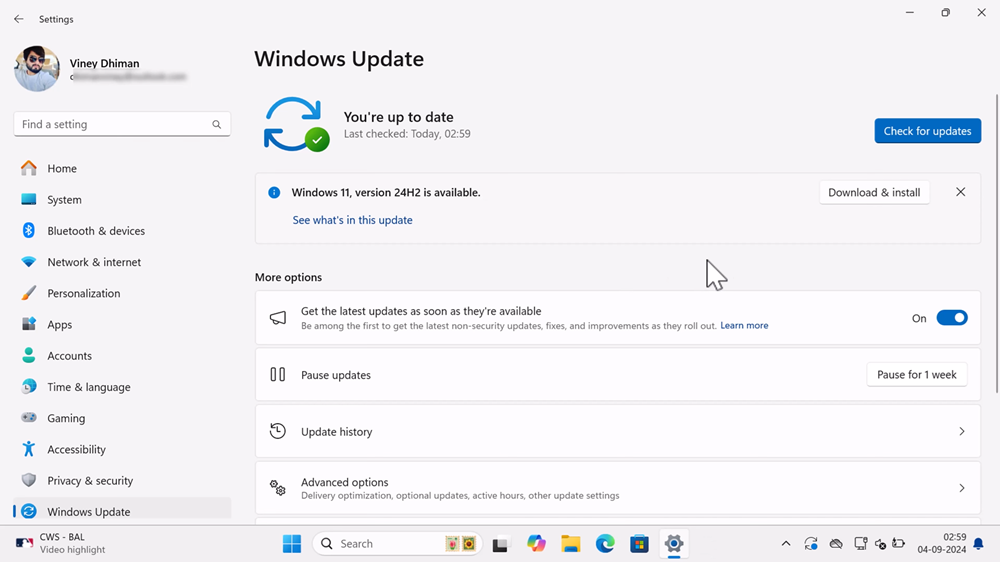
Now you will get Windows 11 Version 24H2 Update, click the Download and Install button.
The download process will begin and may take some time depending on your internet speed, so be patient.
After the download completes, the installation process will start automatically. Once the installation is done, you’ll be prompted to restart your computer.
At last, the update will be finalized.
After completing these steps, you should now have Windows 11 version 24H2 installed on your PC.
Alternatively, you can also use Windows 11 Installation Assistant to upgrade to Windows 11 24H2 without losing apps and data.
For that, head over to the Windows 11 Download Page.
On this page, locate the Windows 11 Installation Assistant section. Click on the Download Now button.
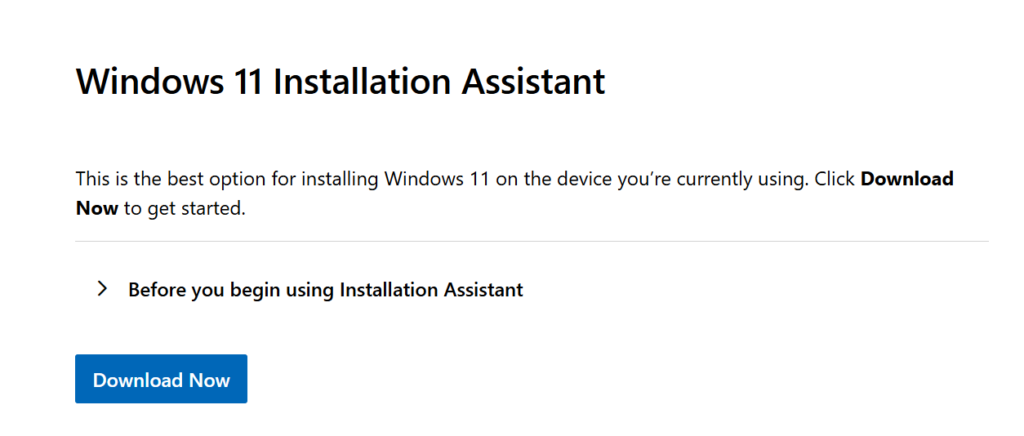
Simply run the program by double-clicking on it and follow on-screen instructions to upgrade to Windows 11 24H2.
This will start downloading the Windows 11 24H2 installation Assistant on your PC.


