If you are facing any problem with the functioning of the camera app in Windows 10 and resetting and repairing the apps didn’t help in fixing the issue, then you can reinstall the app instead of using any other third-party camera app.
Reinstalling the camera app is not possible the way you reinstall other apps in Windows10 apps, the process is a bit different. To achieve this, first of all, you have to uninstall the camera app and then install it again.
Uninstall and Reinstall Camera app in Windows 10
You can’t uninstall Camera app right from the Apps settings page in Windows 10. You will have to take the help of Windows PowerShell to make that thing happen.
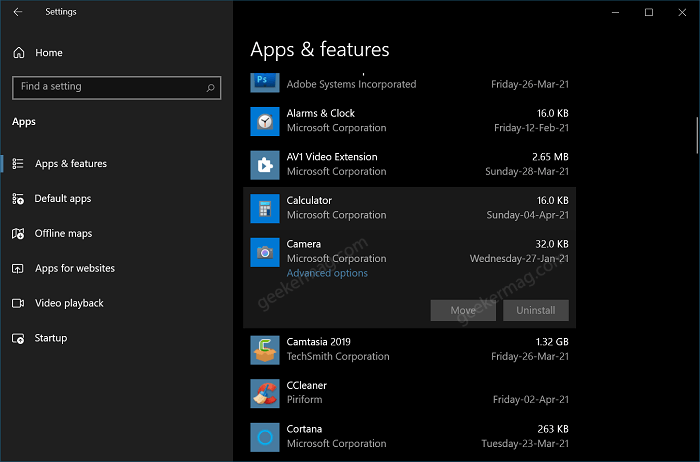
In upcoming lines, you will learn how to uninstall Camera app using Windows PowerShell and then reinstall it from Microsoft Store.
Uninstall Camera app in Windows 10
Open the Windows PowerShell. You can do it by the following two methods-
Press Windows+X keys, and then from the list of the options that appear, click on Windows Powershell (Admin). It will run Windows Powershell as administrator.
Alternatively, you can search for Windows Powershell, then right-click on the Windows Powershell and select Run as administrator.
In the Windows PowerShell, you need to execute following command:
get-appxpackage *Microsoft.WindowsCamera* | remove-appxpackage
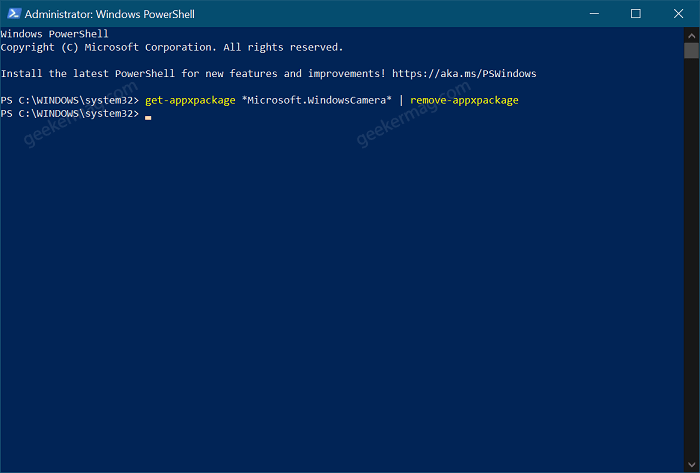
Wait for few seconds and it will instantly uninstall Camera app from your Windows 10.
Install Camera app in Windows 10
Installing Camera app in Windows 10 is super easy. Here’s how you can do that:
Launch the Microsoft Store app from the taskbar, search the Windows Camera and then install it just like you install any other app from the store.
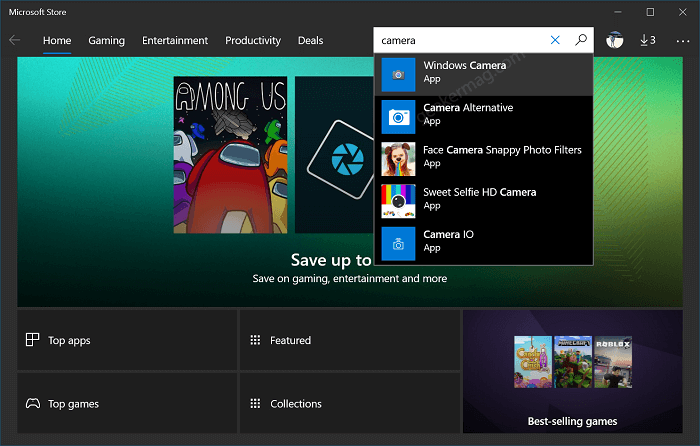
If you are unable to find the Windows camera, then use the following link:
Download Microsoft Camera app for Windows 10
Following the above procedure will help you successfully reinstall the Camera app. This process will help you solve all the problems that you are facing with the default camera app of windows 10.


