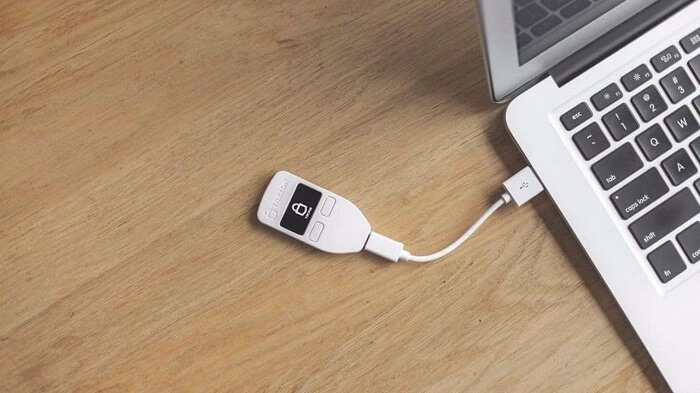
Cryptocurrencies are, by their nature, as a piece of software, digital. As such, unlike traditional cash, you don’t receive a physical coin. This might unnerve some users, who might be worried about the security of their computer or online wallet.

Also, they might want the reassurance of a physical device on which to store their cryptocurrency. That’s why, over the years, the cryptocurrency market has responded to this need by created hardware wallets. These small devices usually look like a USB stick and can be used to store the keys to your cryptocurrency.
Most hardware wallets can store a variety of different coins on separate Blockchains, so you can manage everything you own on one device. There are many benefits to using a hardware wallet, including increased security and the ability to manage multiple coins on one convenient device.
If you’re worried that transferring your cryptocurrency from your online wallet onto a hardware wallet will be time-consuming and difficult, then fear not. It’s surprisingly easy to transfer your funds, as we’ll explain in this article.
1. Buy Crypto Online
Hardware wallets don’t have the option to buy digital currency, so you’ll need to join an exchange and find an online wallet initially. Find a top Bitcoin wallet, such as this one from Paxful, and then purchase your chosen coins online.
2. Choose The Right Crypto Hardware Wallet
Before you begin the transfer, you need to find the right hardware wallet. That means choosing a device that will give you all the features that you want. Check out the best crypto hardware wallets on the market right now, so you can find the one that suits your needs.
3. Set Up Your Hardware Wallet To Receive Your Crypto
Having purchased your hardware wallet, the first step in transferring your crypto is to set up your hardware wallet. Plug the device into an internet-enabled computer, and follow the on-screen instructions to get the wallet ready. Each hardware wallet is different, but the instructions are usually straightforward. You’ll get a link or pin number, which you can then put into the online exchange or wallet to enable you to transfer your funds.
4. Sign In And Transfer Your Coins
With your hardware wallet set up to receive the coins, you need to sign in to your crypto wallet and transfer your digital money. Each type of device and crypto exchange or wallet has a different process, so research the ways you can transfer your crypto from each. If you’re struggling, then follow the instructions on the hardware wallet or exchange to ensure the process runs smoothly.
5. Manage Your Crypto From Your New Hardware Wallet
Now your coins are on your hardware wallet, you can start enjoying them wherever you go! You can check your coins on the device itself or insert it into a computer to buy, sell and exchange your crypto quickly and easily. Every hardware wallet and online exchange has a different process, but this article should help you to get started with this process.


