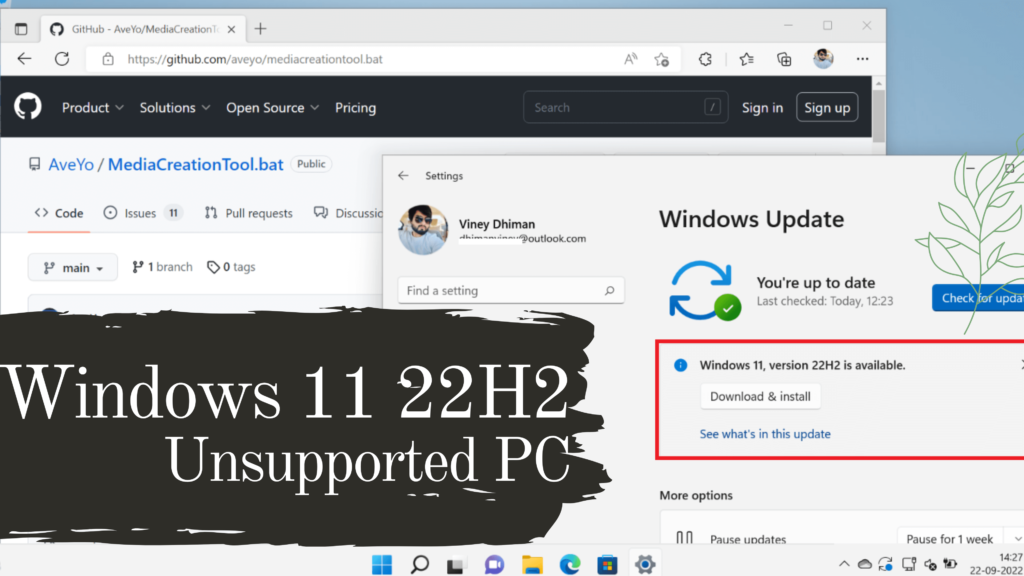
Microsoft has finally released Windows 11 (22H2) 2022 Update and it is available for download on supported devices. To install it, the company has set strict system requirements.

To make it easier for the users, the company has released a tool called PC Health Check using which they can easily find out if Your Windows 10 PC Can Run Windows 11.
If it gives you a green signal, then you can easily upgrade from Windows 10 to Windows 11. If you made up to this blog post, then it’s highly possible that it gives you a message i.e. This PC doesn’t currently meet Windows 11 System requirements.
Probably your processor is old or it lacks TPM or TPM is disabled. You can check if your PC has TPM 2.0. If your device lacks it, then there’s nothing you can do about it. While on the other hand, if your device supports TPM, then you can enable it by entering bios settings.
Some older devices have a TPM 1.2 and during the scan, if the PC Health Check app detects it, then it also counts your device as incompatible. Fortunately, Microsoft has released a registry hack to bypass this restriction:
Before you proceed, we would like to tell you that if you:
- Opt to install Windows 11 on an unsupported device, then you may face bugs and issues.
- Your system might stop receiving security updates.
- Due to incompatibility, your device may break, so after following this workaround anything goes wrong don’t point your finger at us.
How to Install Windows 11 22H2 on an Unsupported PC Hardware
Check the below video to find out one of the easiest ways to upgrade an Unsupported PC to Windows 11 22H2 without TPM 2.0 or Secure boot.
Registry Editor hack to Install Windows 11 22H2 without TPM and Secure Boot
Launch Registry Editor on your device. For that, click on the Search icon available on the taskbar and type regedit, when it appears in search results, click to open it.
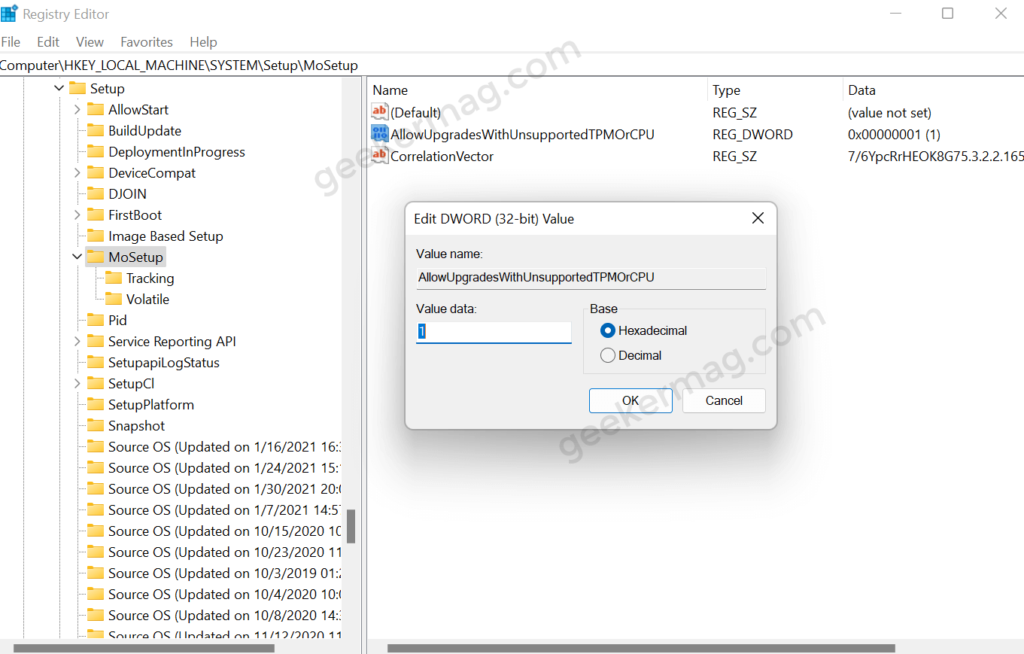
Navigate to the following key: HKEY_LOCAL_MACHINE\SYSTEM\Setup\MoSetup
On the right side, make right-click and select DWORD 32-Bit value and name it AllowUpgradesWithUnsupportedTPMOrCPU.

Once done, double-click on it and set it Value data to 1, click OK.
Now close everything and reboot your device.
After that, you need to download Windows 11 Installation Assistant from here, run it, and follow the on-screen instructions.
To start the upgrade process, you need to accept the following terms.

Once done, the tool will start the upgrade from Windows 10 to Windows 11.
Use Rufus to Install Windows 11 on PC with Unsupported PC Hardware
Rufus is a nifty tool using which users can create a bootable USB drive of Windows 11. The latest version of Rufus comes with Windows 11 Extended installation support that disables TPM/Secure Boot/RAM requirements while creating bootable Windows 11 USB.
As a result, users can use the same bootable installation media of Windows 11 to install Windows 11 on a PC with unsupported hardware. Here’s how you can do that:
Download Rufus 3.16 Beta 2 from Github.
Next, launch the tool.
Insert the USB drive into your device
Under the Device section using the drop-down, select the USB Drive you have inserted
Under Boot selection, you need to select the ISO Image of Windows 11.
Under Image options, you need to select the option that reads “Extended Windows 11 Installation (no TPM, no Secure Boot, 8GB- RAM)“.

Note – We would like to that you that, the Quick format option is selected with default settings and it will erase all data when you start the process.
Once all options are selected, you need to click on the Start button. Wait for a few minutes.
Once the process completes, you will have a Windows 11 bootable installation media that during the installation will bypass TPM/Secure Boot/RAM requirements.
As simple as that!
If you have an older or incompatible device, then you can use of these three methods to install Windows 11 22H2 without unsupported PC, NO TPM 2.0, and Secure boot.
Why don’t you try these methods? If you face any issues while trying this workaround, feel free to contact us via comments.


