Out of the box, you need to create or log in using a Microsoft account during the setup in order to install Windows 11, no matter what edition of Windows 11 you’re installing.
Although Microsoft accounts are free, there could be various reasons why you want to bypass a Microsoft account in the Windows 11 setup. Maybe, you like your privacy and want to keep using Windows 11 with a local account.
There are various tricks shared by users that allow Windows 11 Skip Microsoft Account during setup. Microsoft regularly tracks these tricks and blocks them, and as a result, makes it difficult to set up a local account or bypass Microsoft account screen in Windows 11 setup.
Windows 11 Skip Microsoft Account in Setup
Below in this blog post, I’m going to share a quick trick using which you can make a Windows 11 Bypass Microsoft Account in Setup. The trick isn’t new, but the only thing changed is when to apply it to get results, So let’s learn the trick.
While installing Windows 11, when you reach this screen or similar that asks you to enter Microsoft account details.
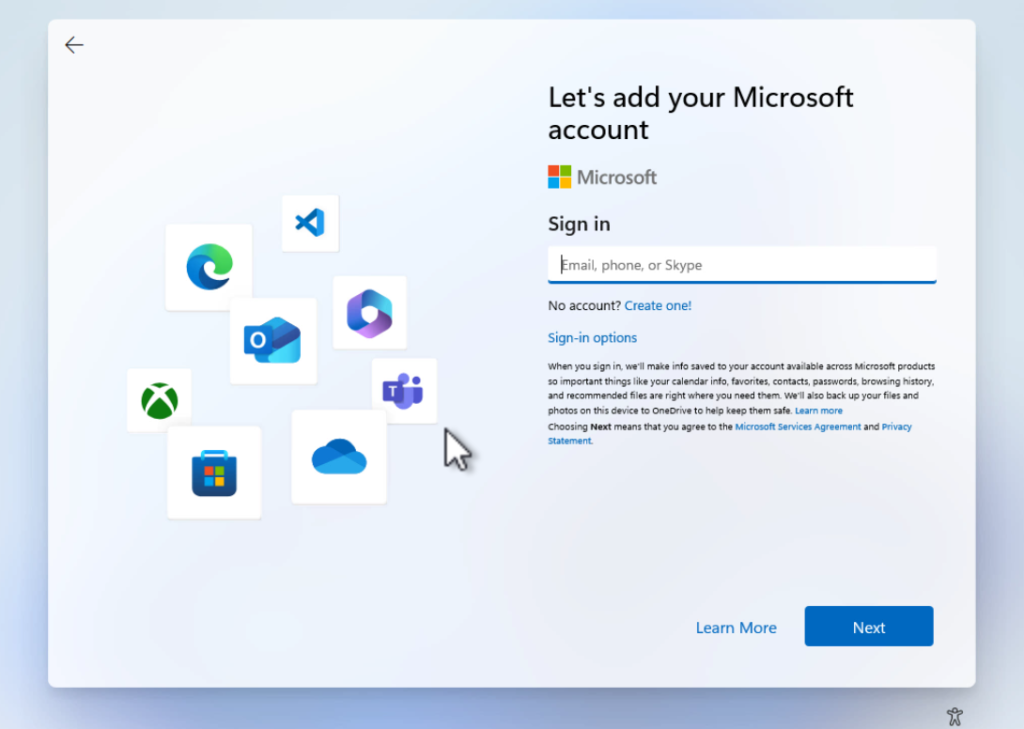
Press SHIFT + F10 and this should open the Command Prompt window.
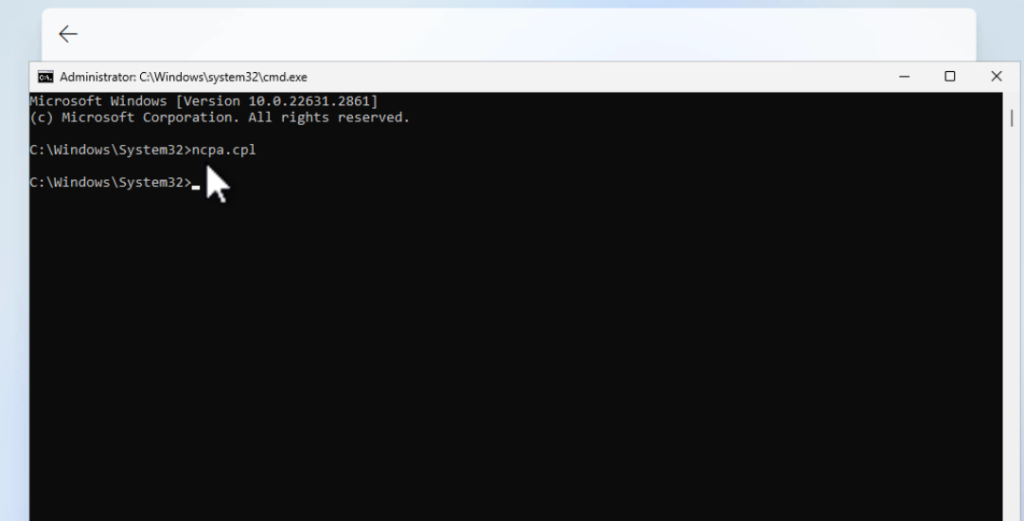
Here, you need to type ncpa.cpl and hit enter. This will open the Network connection window.
Here, you need to right-click on the Ethernet and select Disable. Do the same for Wi-fi connection as well.
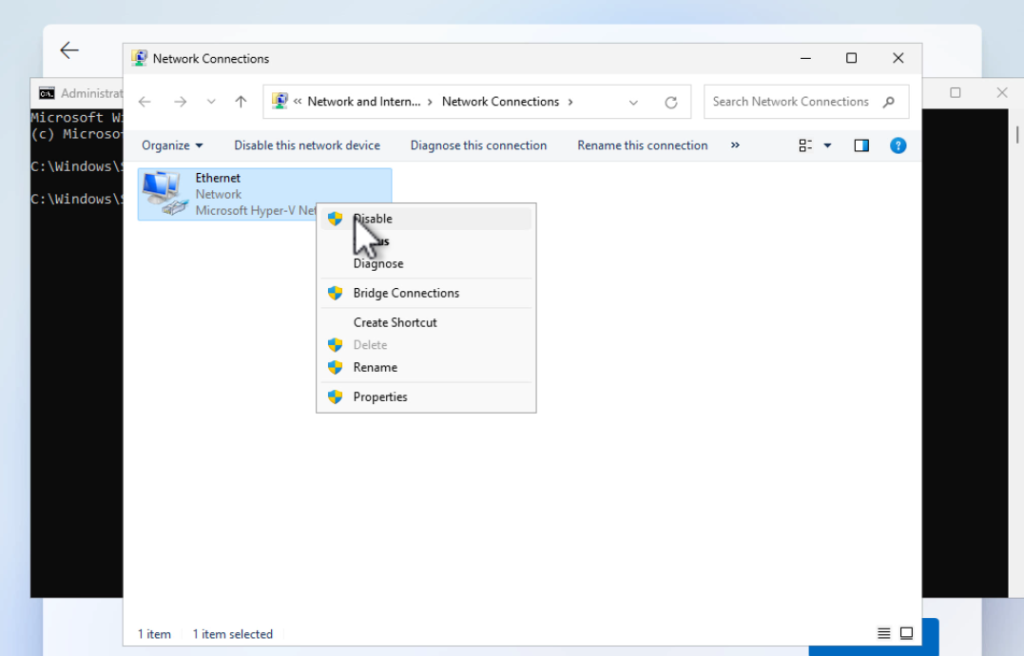
After that, close the same window.
In the Command Prompt window, you need to type this command: OOBE\BYPASSNRO and hit enter.
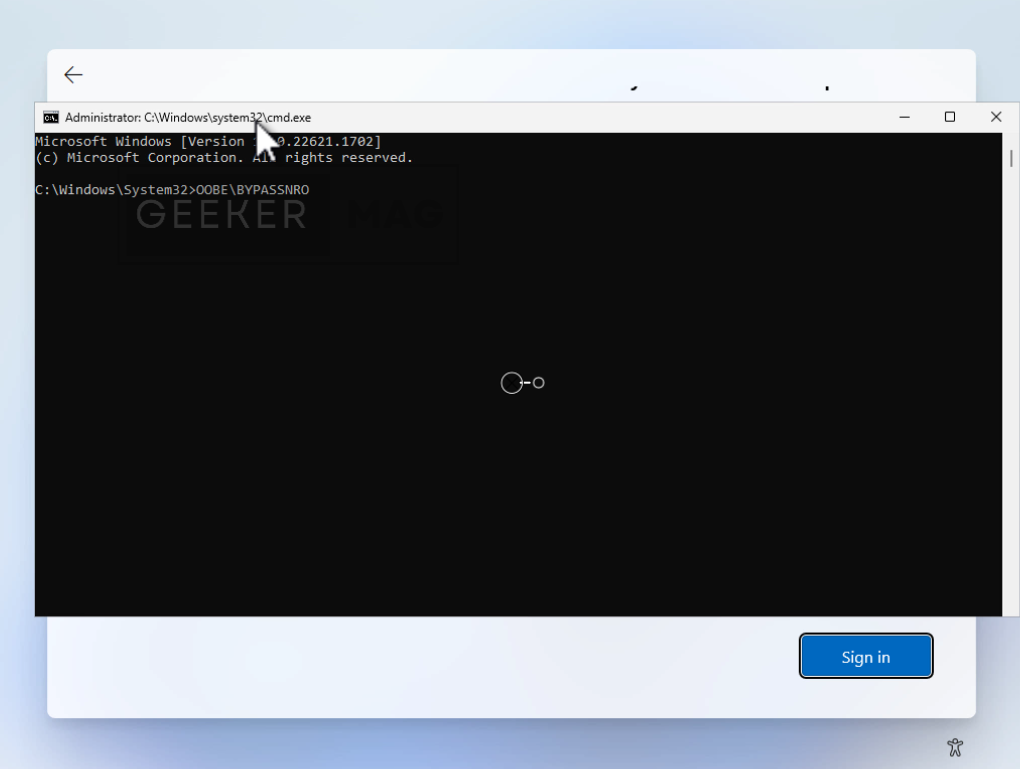
Your system will restart automatically and you need to set up everything again.
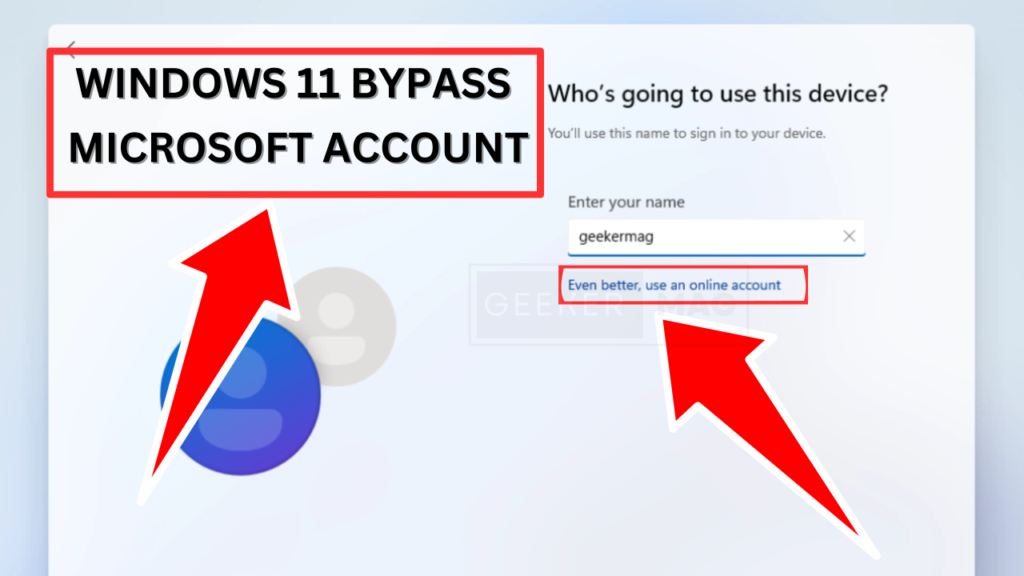
This time, if you click on the Sign in button. You will be asked to enter your name. Here if you take a look at the bottom of this field, you will see a note that, Even better, use an online account. This confirms that you have successfully bypassed the Microsoft account screen.
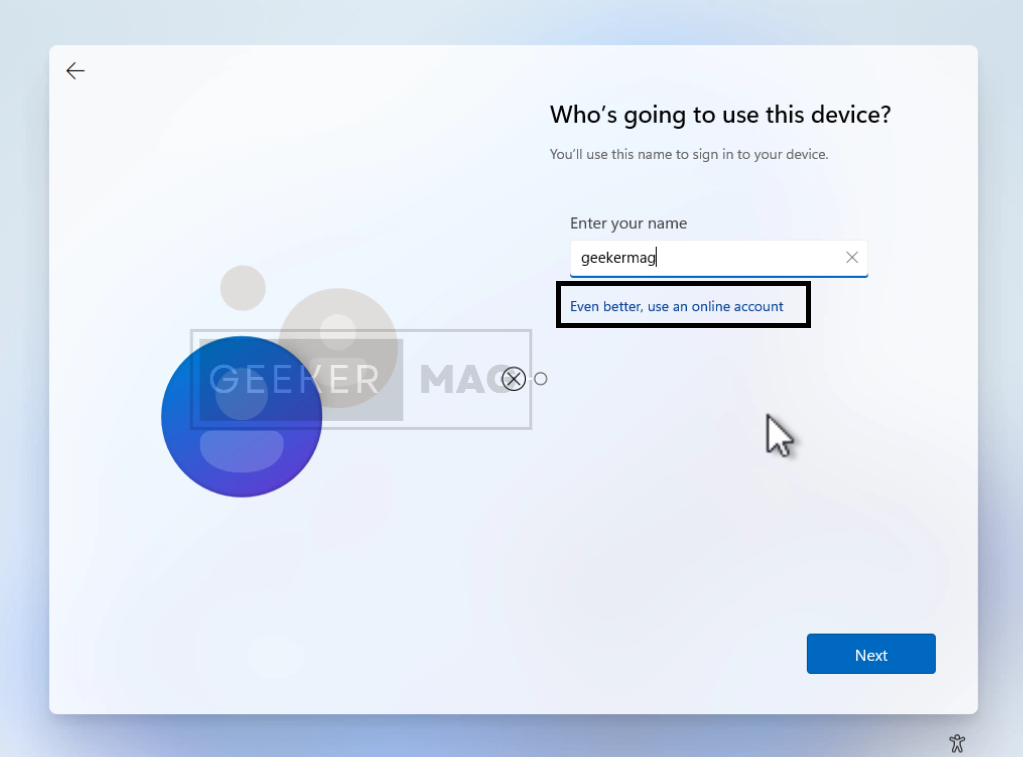
Next, you need to type Name > Enter Password> Confirm Password > Add security questions.
Once done, follow the screen instructions, and in a few minutes, you will reach the Windows 11 home screen.
Now if you open the settings app and take a look at the upper left corner, you can see that it’s a local account.
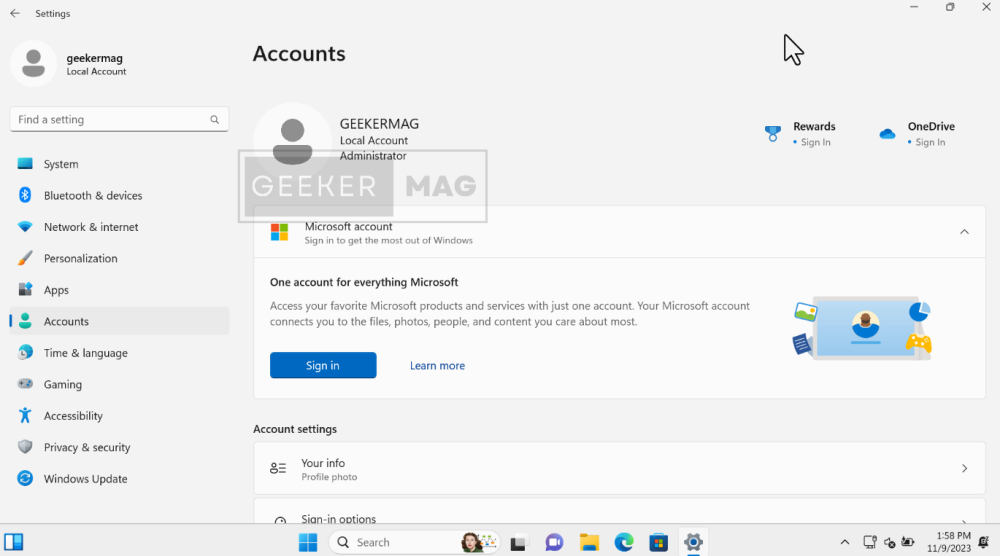
In case, you want to link your Microsoft account, then click here. On the Account settings page, click on the Sign button and follow the on-screen instructions.
As of creating this video, this method works 100%, but there’s the possibility that Microsoft patched this and later this trick stopped working.
How to Make Windows 11 Skip Microsoft Account in Setup
So let me know if this method works for you or not. Also, if you’re aware of any other trick that makes Windows 11 Skip Microsoft account, then feel free to share in the comments.




1 Comment
Not working… 14.04.2024