It is possible to install Windows 11 on Mac using Boot Camp, but the method only works on Macs with Intel processors. To install Windows 11 on Apple’s M1 or M2 chips users have to use Parallels Desktop for Mac which lacks support for it.
As of now, there was no way to install Windows 11 on Macs powered by M1 or M2 Chips. Fortunately, there’s good news for users who want to achieve the same thing.
Microsoft now partnered with Parallels to enable official support for Windows 11 on Apple’s M1 and M2 Macs through a virtual environment. This has been made possible through Parallels Desktop version 18, an approved solution for running Arm versions of Windows 11 on Apple’s latest hardware.
How to Install Windows 11 on Apple M1/M2 Mac Using Parallels Desktop
In case, you own a Mac powered by M1 and M2 chips from Apple and would like Windows 11 on these devices, then you can do it by making a few clicks. Here’s how you can do that:
Download the ISO image of Windows 11 64-bit Arm (Arm64) Architecture devices from Microsoft. Check two methods to Download Windows 11 arm64 ISO File for Mac.
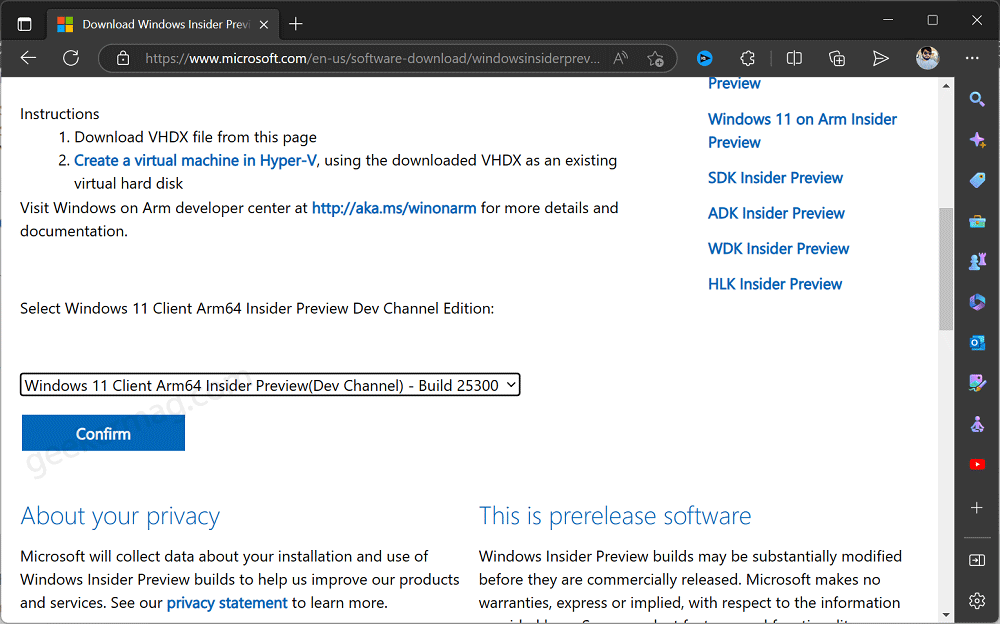
Right now, the same version of Windows 11 is available as the Insider preview. So enroll in the free Windows 11 Insider program and grab the ISO.
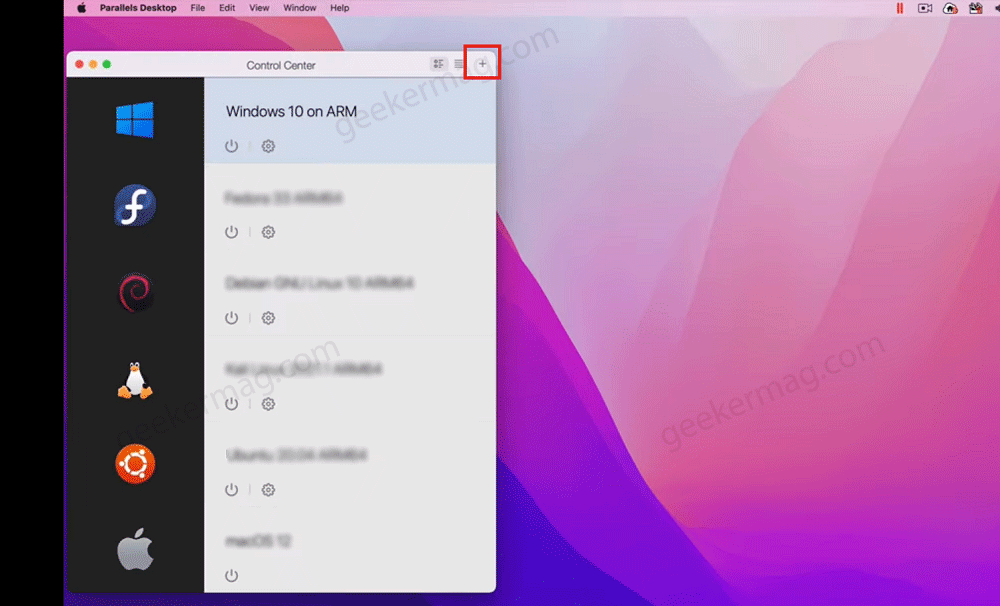
Open Parallels Desktop on your Mac. For that, click on the Parallels icon in the menu bar. Alternatively, click on the (+) in the control center, and then click Continue.
In the Installation assistant window, you will find two options: Get Windows 11 from Microsoft and Install Windows (ISO Image)
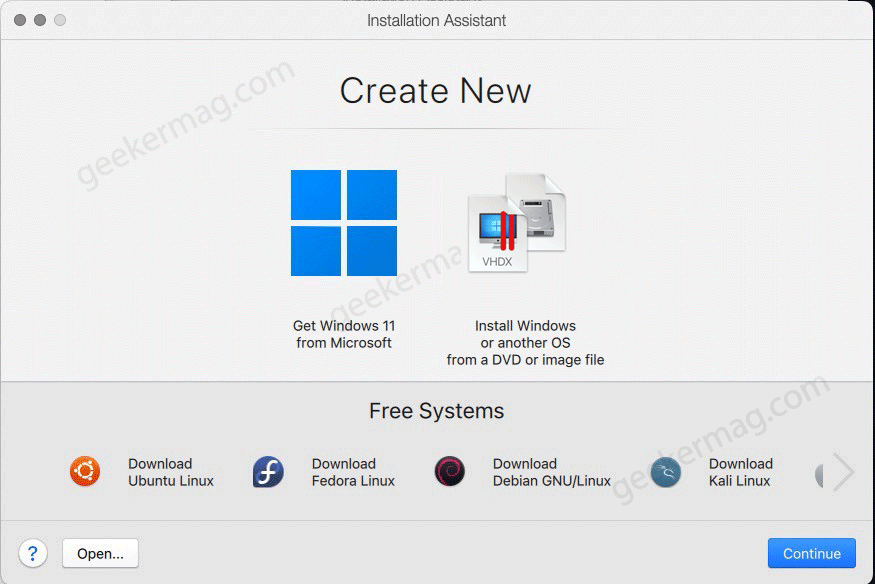
If you click on “Get Windows 11 from Microsoft“, the installation assistant will automatically download and install Windows 11 on your Mac.
On the other hand, if you click on the Install windows button the Installation assistant window will automatically detect the Windows 11 ISO image, and you can proceed with the installation.
In both methods, you need to follow on-screen instructions and fill in the information as you desire. So depending on your requirement use the method you prefer.
Parallels Desktop will automatically find the ISO file that you have downloaded, click on the Continue button again.
After that, keep following the on-screen instructions, the whole process will take 15-20 minutes. During the process, you will see the following screens:
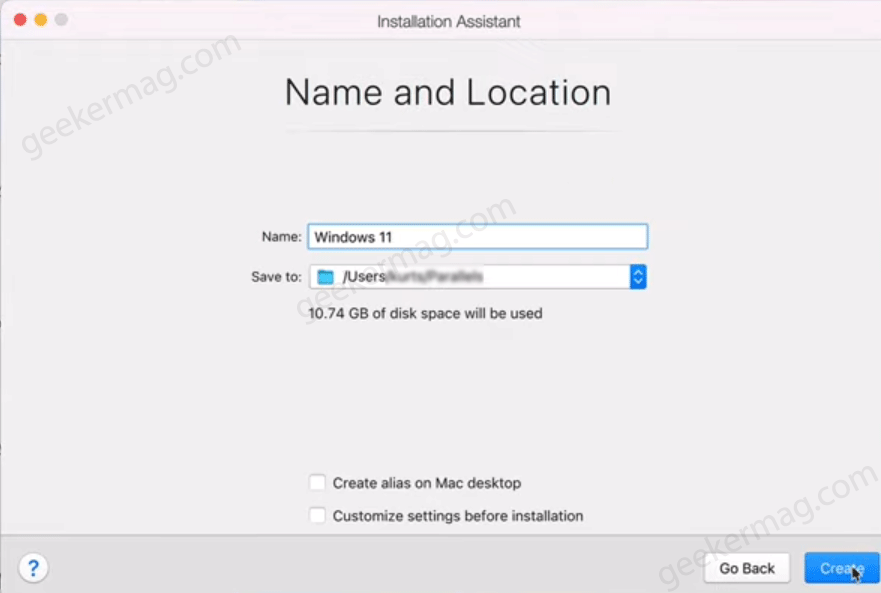

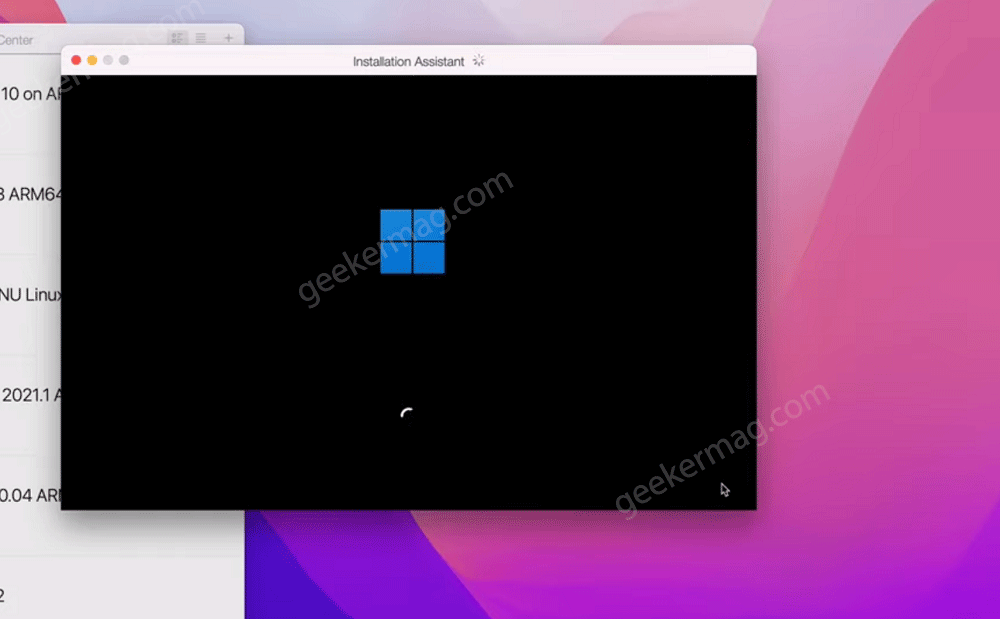
Once you see the following screen confirms that the process of installing Windows 11 on Mac is completed.

Click on the “Click to continue” link to start using Windows 11 on your M1/M2 Mac. The first I suggest is to head over to Settings > Windows Update and download the latest updates available.
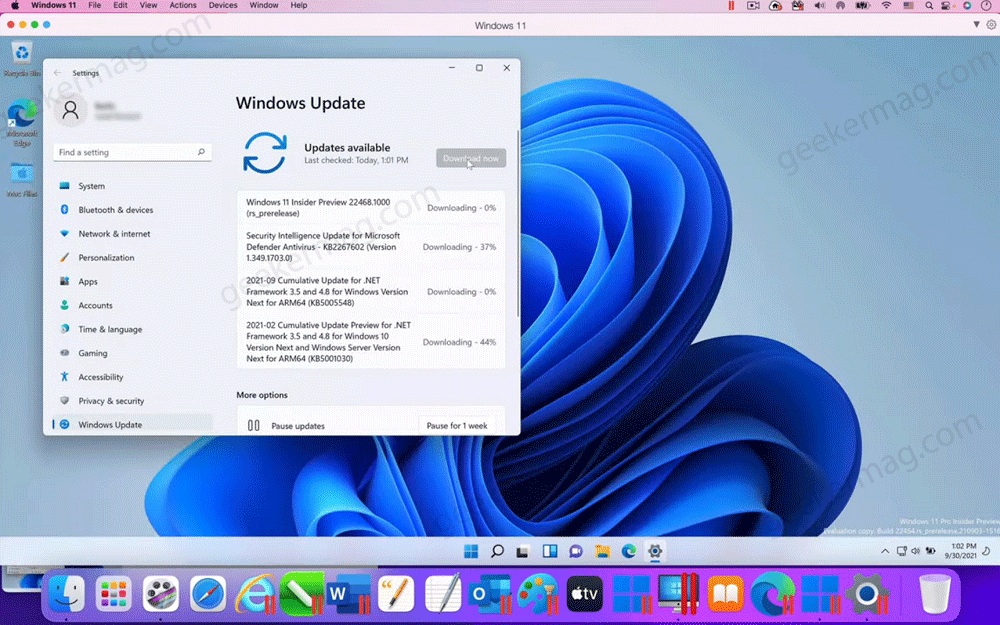
Check out YouTube videos that show you a demonstration of how to do that.
Will you install Windows 11 on Apple’s M1 and M2 Chip Macs using Parallels Desktop? Let me know in the comments.
