Minecraft is a popular game for Windows. There are unending possibilities in the world of Minecraft; there are servers that you can participate in with your friends and enjoy collaborative gameplay. Minecraft Mods unlock a whole new world by overcoming the vanilla experience that Minecraft offers.
There are various types of mods available for Minecraft, which can let you customize the complete look and feel of Minecraft. As of now, you can only get mods for the Minecraft: Java Edition and not the Bedrock Edition. It means you can only install mods in Minecraft on Windows and not on other platforms.
But the main question is how can I install mods in Minecraft: Java Edition? This article will guide you through the step-by-step process of installing mods in Minecraft: Java Edition.
Steps to Install Mods In Minecraft: Java Edition
Before we continue, you must be familiar with the mods of the game. Though the process of installing mods in Minecraft: Java Edition isn’t difficult, having prior knowledge of working with mod files for other gamers can make the process much easier.
We will divide the complete process of installing Mods in Minecraft: Java Edition into smaller steps to make it easier for everyone doing it for the first time. Let’s get started-
1. Install Minecraft: Java Edition
Of course, you must first install Minecraft: Java Edition on your Windows PC. Mods are unavailable for the Bedrock version, so you can only get mods for Java Edition available for Windows PCs.
Minecraft: Java Edition is available on the Microsoft store in the bundle with the Minecraft: Bedrock Edition. Also, both game versions are available with the PC Game Pass and Xbox Game Pass Ultimate. You can get the Minecraft Java Edition from the Microsoft Store or install it from the Minecraft website.
From Microsoft Store
Launch Microsoft Store from the taskbar on your PC.
Search for Minecraft: Java & Bedrock Edition for PC and click on the relevant search result.
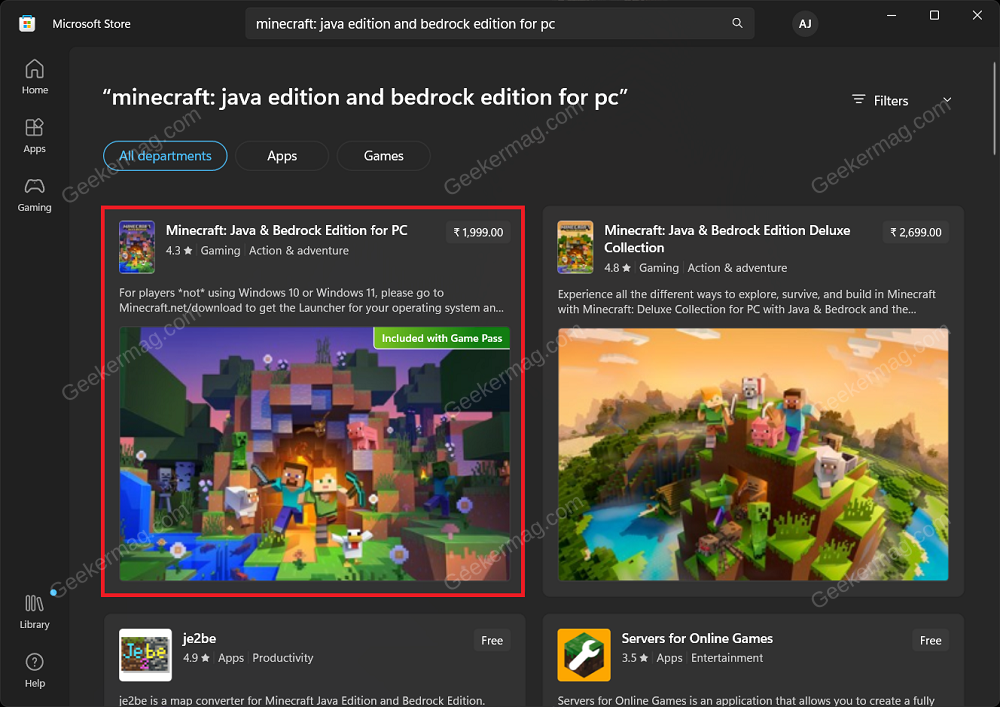
You will now see two options, i.e., Play with Game Pass and Buy.

If you have the Game Pass, then click on Game Pass to install the game. Otherwise, click on the Buy option and purchase the game to install it on your device.
This will also install the Minecraft Launcher on your PC.
It is a straightforward process to install Minecraft: Java Edition. If you want to install the game from the Minecraft website, then follow the steps given below-
From Minecraft Website
Head to the official Minecraft site on your PC’s browser.
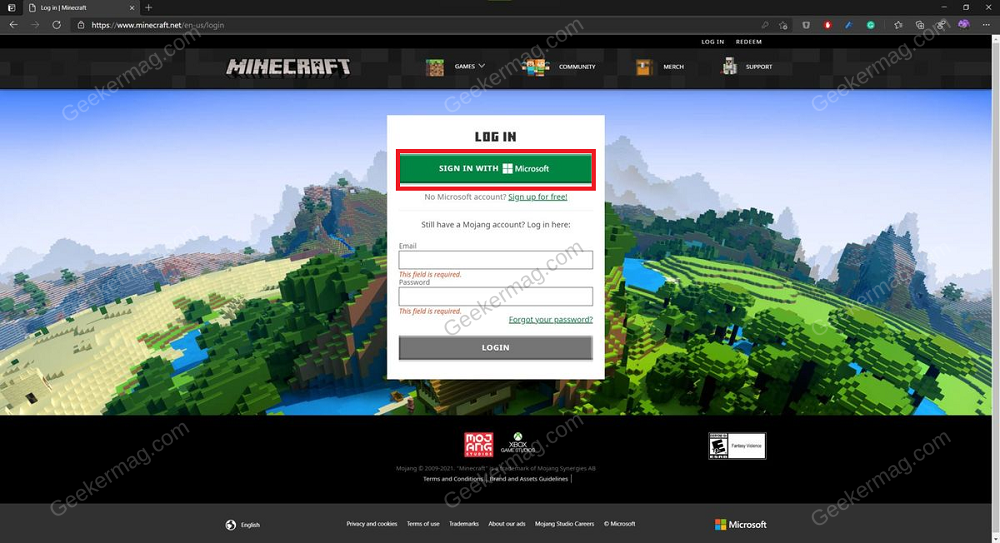
Now, click on Sign in with Microsoft and log in with your Microsoft account.
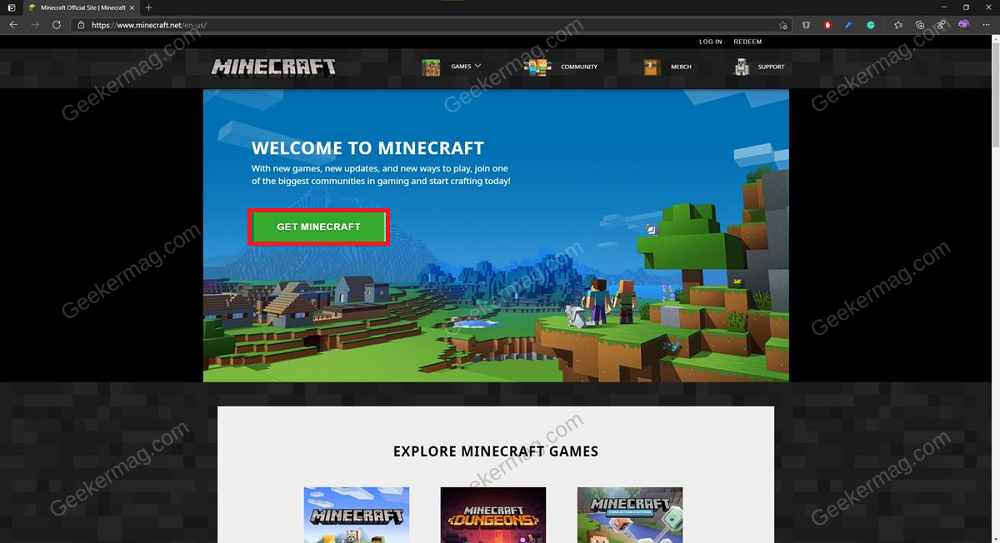
Click the Get Minecraft button here.
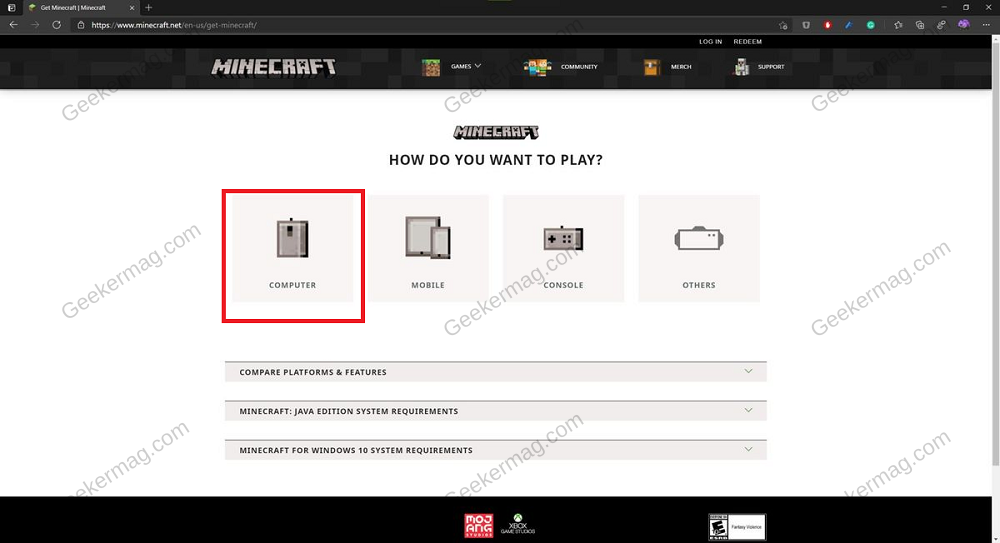
Select Computer when asked which device you want to play the game.
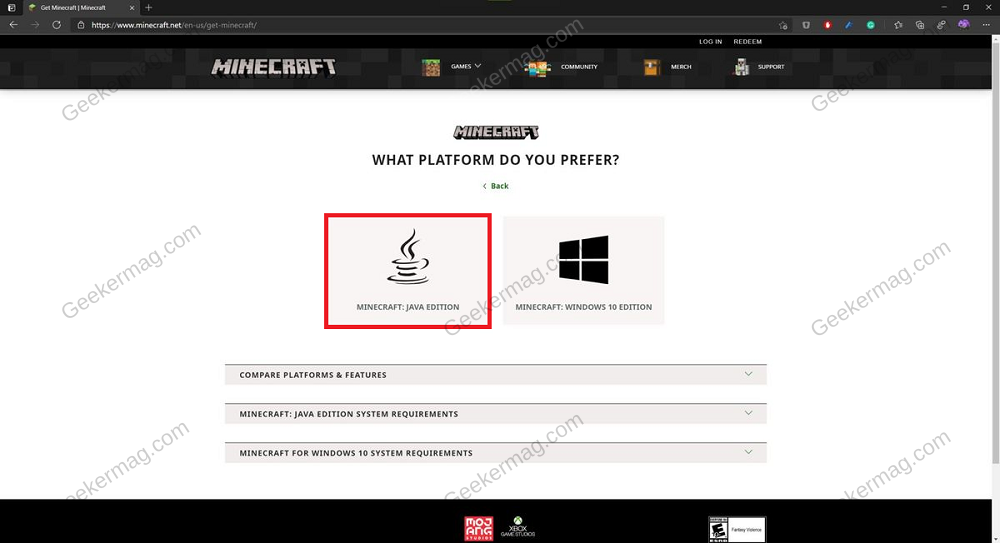
Select Minecraft: Java Edition from the platform.
Click on the Download button to download the Minecraft: Java Edition.
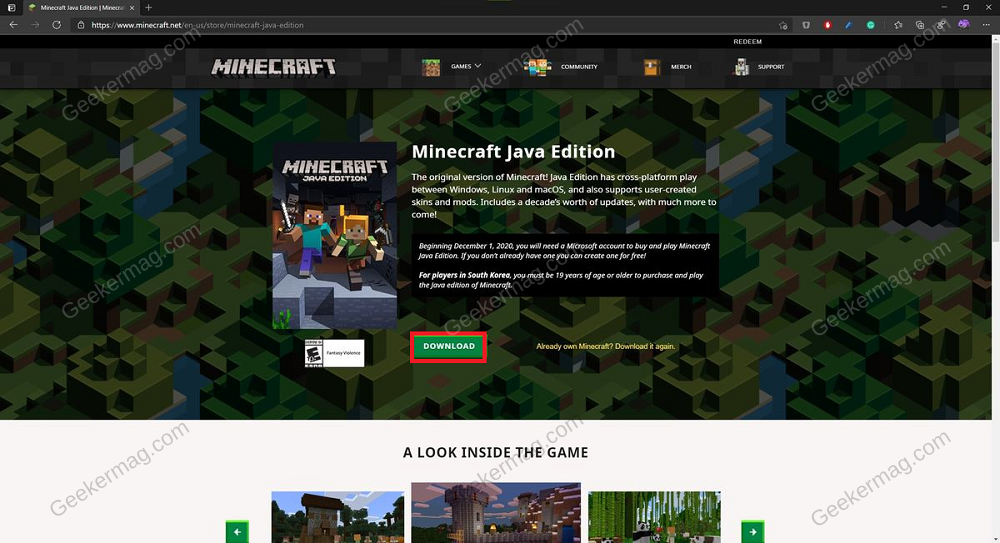
Once you have downloaded the game setup, run it and install it on your device normally.
Now, press the Windows key and search for the Minecraft Launcher in the Start Menu. Press Enter to open the Minecraft Launcher.
You will have to sign in with your Microsoft account to continue ahead.
2. Install Java on Your PC
After you have installed Minecraft: Java Edition, you must install Java on your Windows PC. You need Java on your PC to get Froge (which is essential to get mods for Minecraft). You can install Java on your PC by following the steps given below-
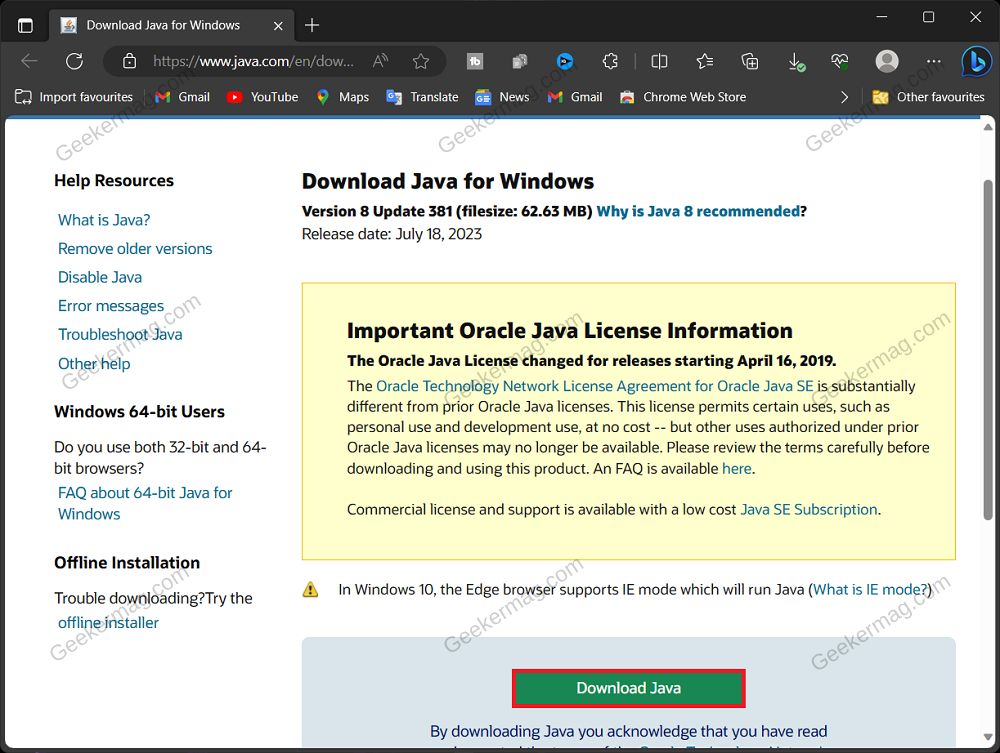
Open the browser on your PC and visit the official website of Java.
Click on the Download Java button to download the Java setup.
Open File Explorer by pressing the Windows + E key combo, and head to where the Java setup is saved.
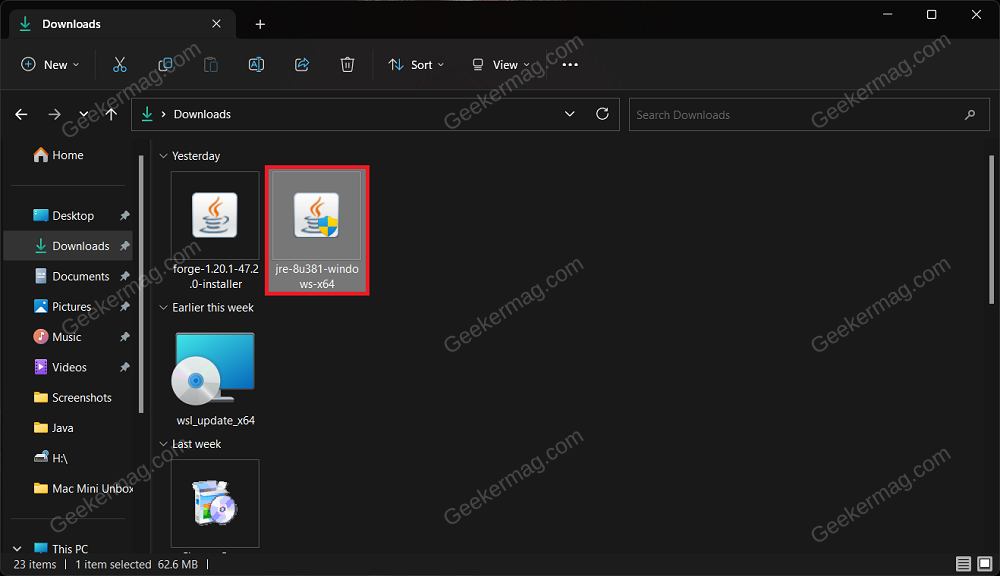
Double-click on the Java setup to run it.
Now, click on the Install button to begin the installation process.
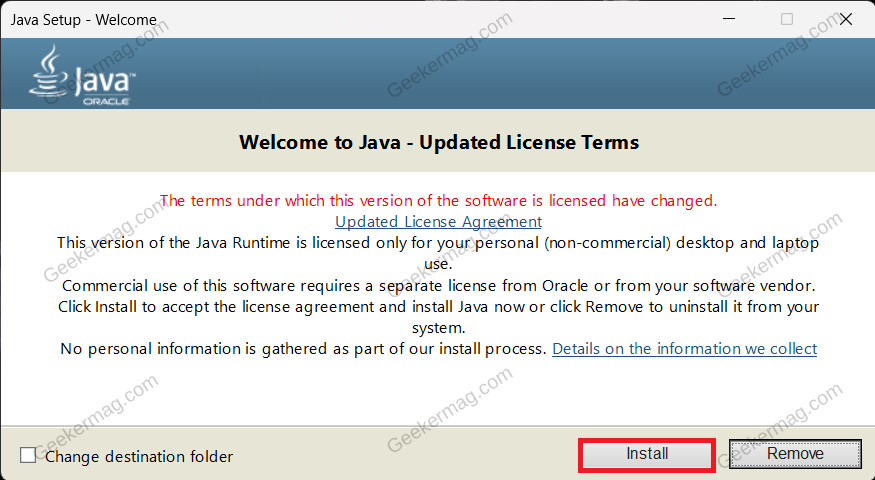
After this, Java will start installing. Once done, you can close the installation wizard.
3. Install Forge
The next step is to install Forge, which you will require to install mods on Minecraft. The steps to install Forge are mentioned below-
Click on this link to visit Forge’s official website.
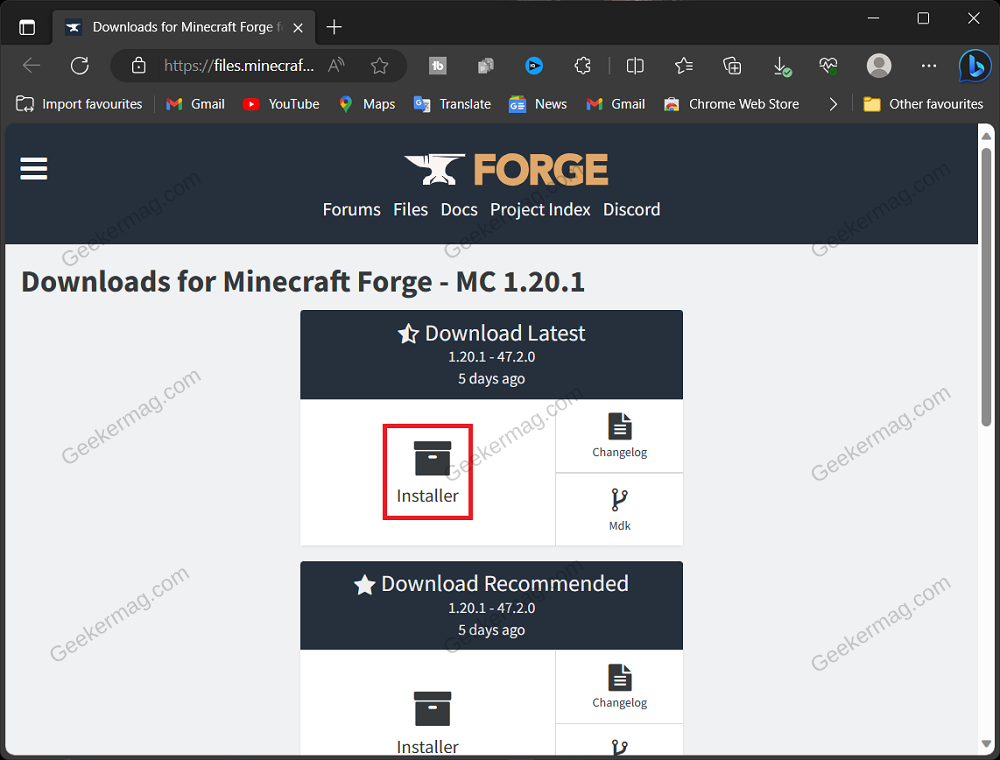
Here, search for the Forge version and select it. Next, click on the Installer button to download the Forge.
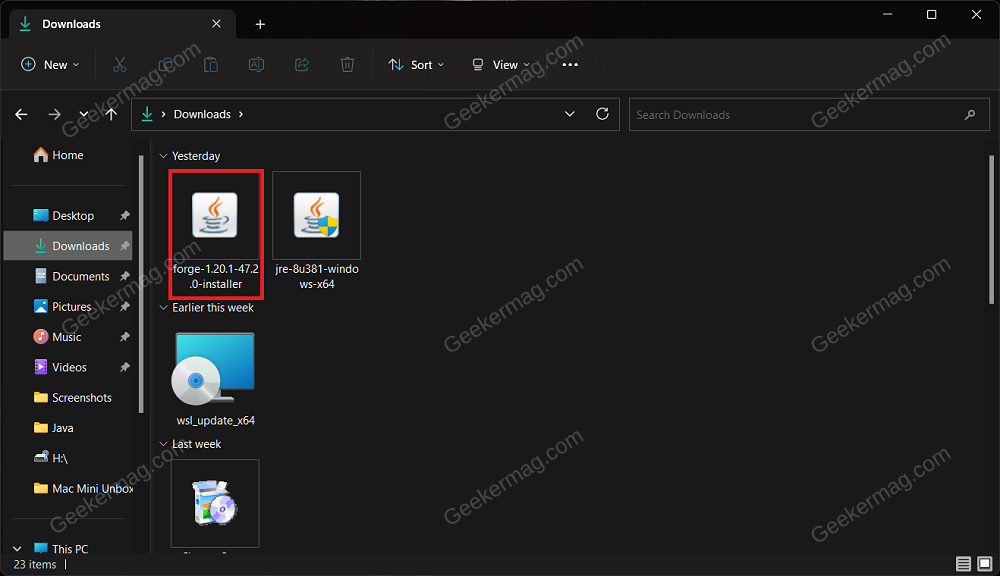
Launch File Explorer on your PC and navigate to the folder where the Forge setup file is downloaded. Run the Forge setup by double-clicking on it.
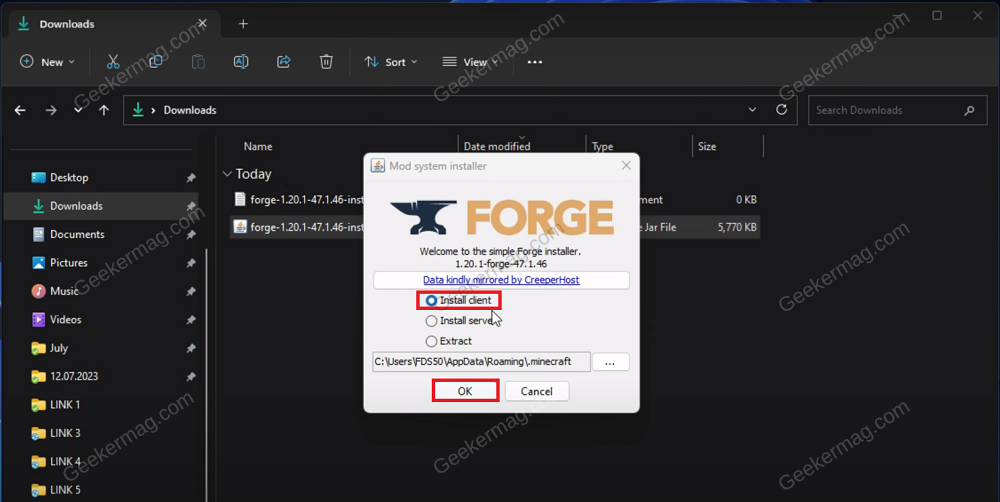
Now, select the Install Client option and copy the installation destination. Click on OK to continue installing Forge.
Once the installation is complete, click on OK to continue ahead.
4. Verify Forge Installation
Once you have installed Forge, you must verify whether it has been successfully installed. To verify Forge installation, follow the steps given below-
Press the Windows + S key combo, type Minecraft Launcher, and launch it.
Now, click the dropdown menu on the left, showcasing the Minecraft version.

In the dropdown, you must see the Forge version you installed. Select the Forge from the dropdown menu.
5. Look for Mods Folder
You will now have to look for the mods folder in the Forge installation path, and if it’s unavailable, you will have to create it.
Open File Explorer by pressing the Windows + E key combo.
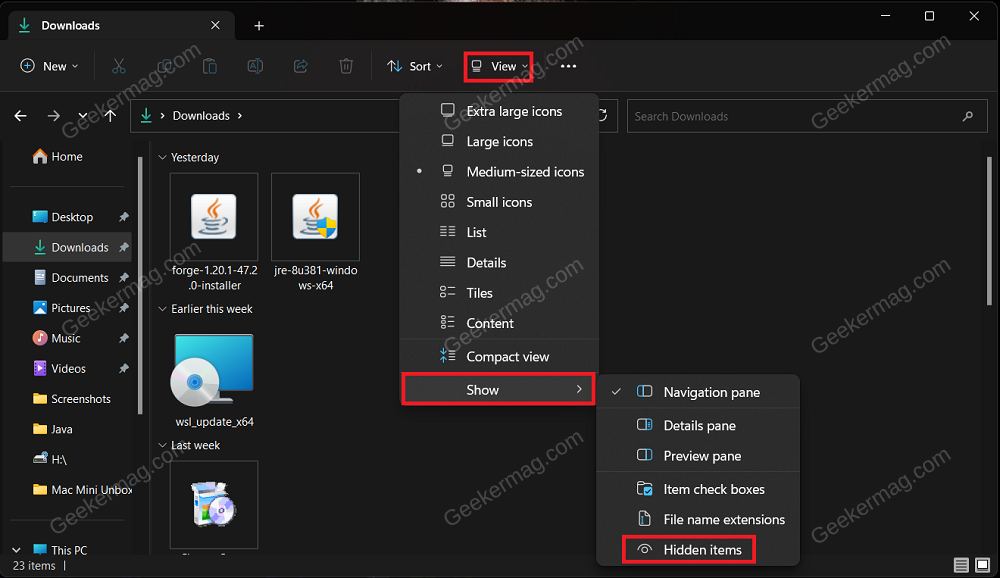
Click on the View button at the top, hover over Show, and check Hidden Items. This will show the hidden files and folder in the File Explorer.
Head to the following path:-
C:\Users\(username)\AppData\Roaming\.minecraftNote- Here, replace (username) with the actual username of the account on your PC. If you have changed the installation path of Forge, then replace the above path with the actual Forge installation path.
Here, look for the mods folder.
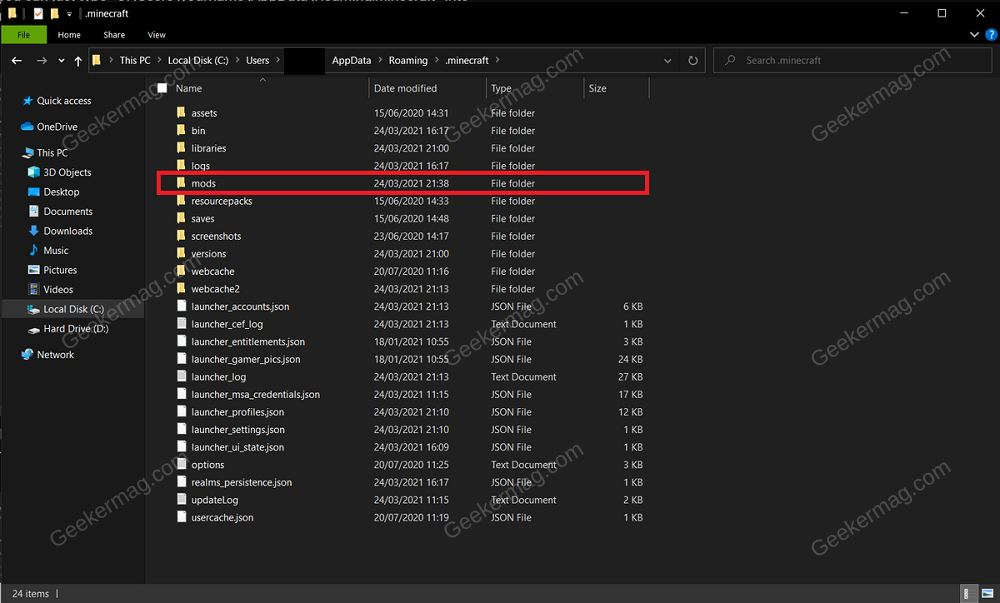
If the mods folder is unavailable, click on the New button at the top left corner and then click on the Folder option.
Keep the name of the new folder as mods.
6. Install Mods on Minecraft: Java Edition using Curseforce
Once you are done with the above steps, it is finally time to download and install mods on Minecraft. The steps for this have been mentioned below-
Head to the Curseforge website on your browser and search for the Minecraft mods here.
Select the mod and click on the Download button. The file will automatically begin downloading.

Copy the mod you downloaded and paste it into the mods folder we created in the above steps.
After this, launch the Minecraft Launcher and select Forge from the dropdown menu.
Now, click on the Play button to start playing the game.
The above steps should help you install mods on Minecraft: Java Edition. The process is a long one, but nothing to worry about if you follow the above steps correctly. You should not face problems with the above guide for installing mods on Minecraft.
How to Install Mods Minecraft: Java Edition (YouTube)
How to Install Mods Minecraft: Java Edition (FAQs)
Where do I download mods for Minecraft?
You can download mods for Minecraft from various reputable websites like CurseForge, Planet Minecraft, and Minecraft Forum.
How to install Minecraft mod without Forge?
To install a Minecraft mod without Forge, use Fabric, an alternative mod loader. Download Fabric and the desired mods, then place them in the ‘mods’ folder in your Minecraft directory.
Are mods free in Minecraft Java?
Yes, mods for Minecraft Java Edition are generally free to download and use.
What is the best Minecraft mod installer?
The best Minecraft mod installer depends on personal preference. Some popular choices include CurseForge, Twitch Launcher, and MultiMC, each offering different features and user interfaces.
