The following blog post has instructions on How to Transfer Photos and Videos from iPhone to Windows 11 PC using the Photos app without iTunes or any other external application.
Whether you’re looking to free up space on your iPhone, or simply want to have a backup of your memories, the best solution is to transfer data from your iPhone to Windows PC (Windows 11 or 10).
For this tutorial, I’m going to use the Photos app that comes preinstalled in Windows 11 as well as in Windows 10. The Photos app makes transferring data from iPhone to Windows PC quick and easy. And you don’t have to rely on iTunes and third-party apps.
So without further delay, let’s start with the process.
How to Transfer Photos & Videos from iPhone to Windows 11 PC
The first step is to Connect your iPhone to your PC using the original data cable for a better data transfer experience.
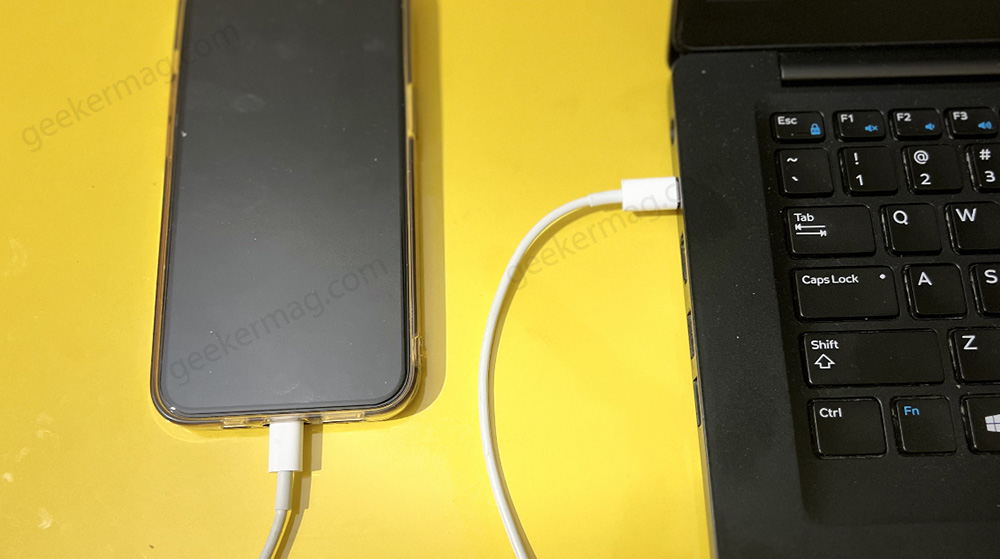
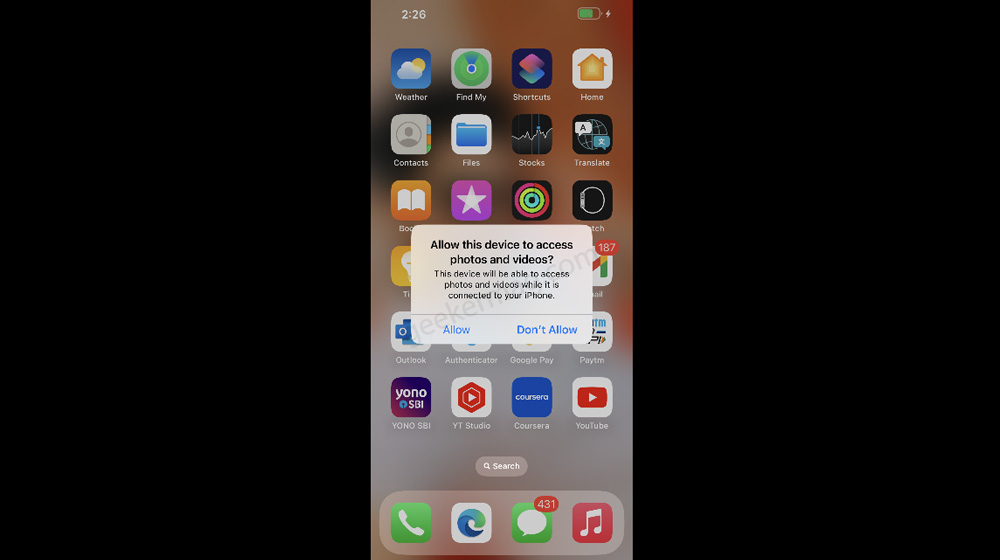
Once done, you will receive a message on the iPhone screen like this, with a message i.e. Allow this device to access photos and videos. Here, tap allow.
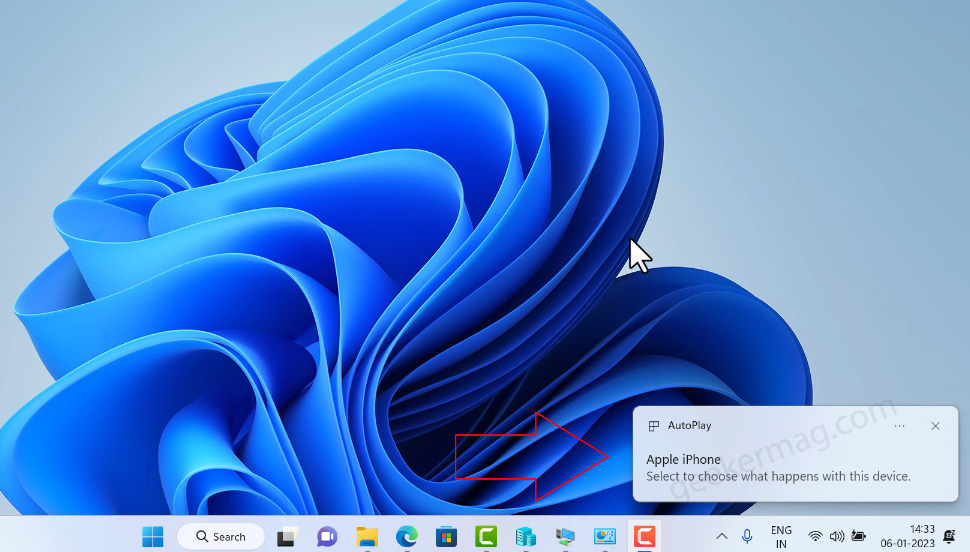
Instantly, you will see this dialog box on your PC which confirms that your iPhone is connected to Windows 11 PC.
Launch the Photos app on your Windows 11 PC. For that, click on the Search icon and type Photos, when the same app appears in the search results, click to open it.
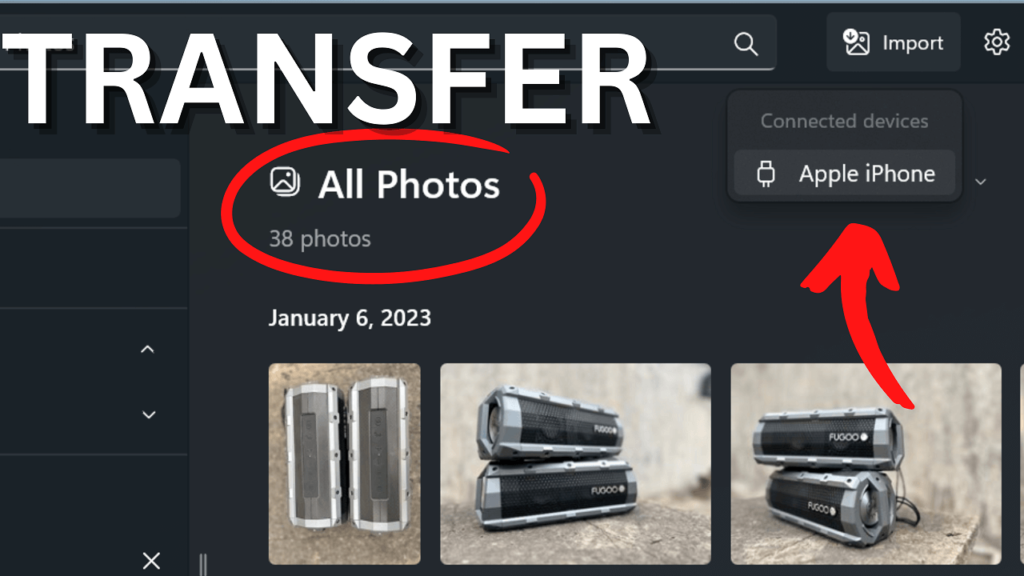
In the Photos app, you will see this ‘Import‘ option, click on it.

A menu will open with the name Connected device. Under it, you will find the Apple iPhone option, click to select it.
Now, You will see a dialog box at bottom of the screen with the message “We are loading your items from Apple iPhone. This may take a few minutes.
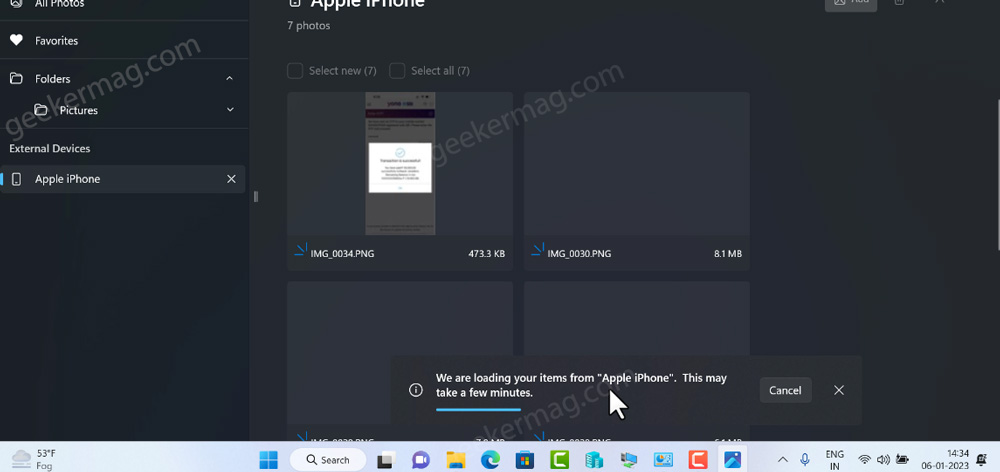
So you need to wait until the photos app loads the data from the iPhone.
Once the process is completed, you will see a preview of all the photos and videos in the photos app. Here, you will see two options:
Select new: You can use this option if you only want to import new photos and videos available on your iPhone and not the ones that you’ve transferred already.
Select All: Use this option to import all photos and videos to your PC.
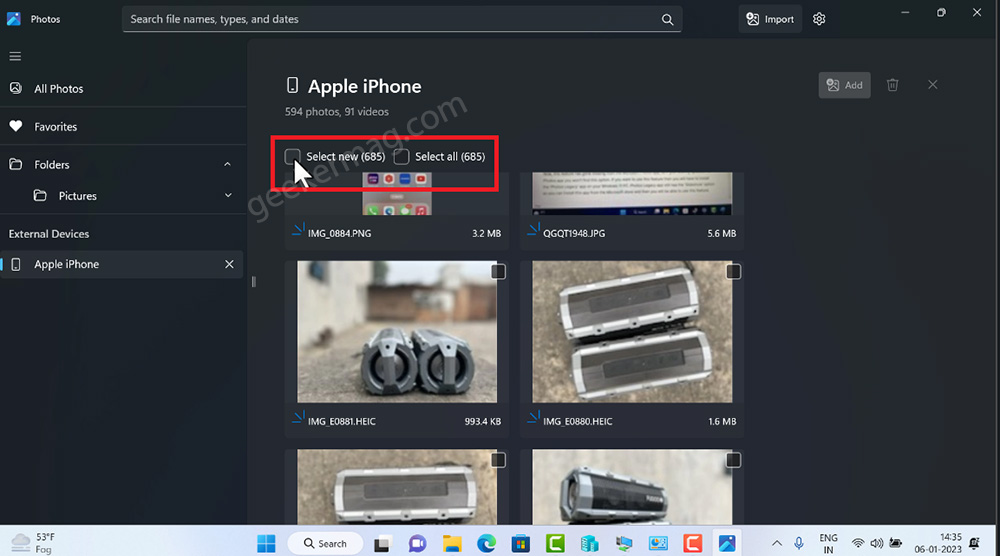
Apart from this, you can manually select photos and videos available on the iPhone that you want to import to the PC, as well.
So you can use the import mode depending on your requirements.
With default settings, you can select any folder inside the Users Picture folder, or create a new folder under Pictures folder.

Once you’ve selected a folder where you want to import the items, click on the Import button.
Instantly, the photos app will start importing selected items to the selected folder. The Transfer process will take time depending on how many items, you’ve selected.
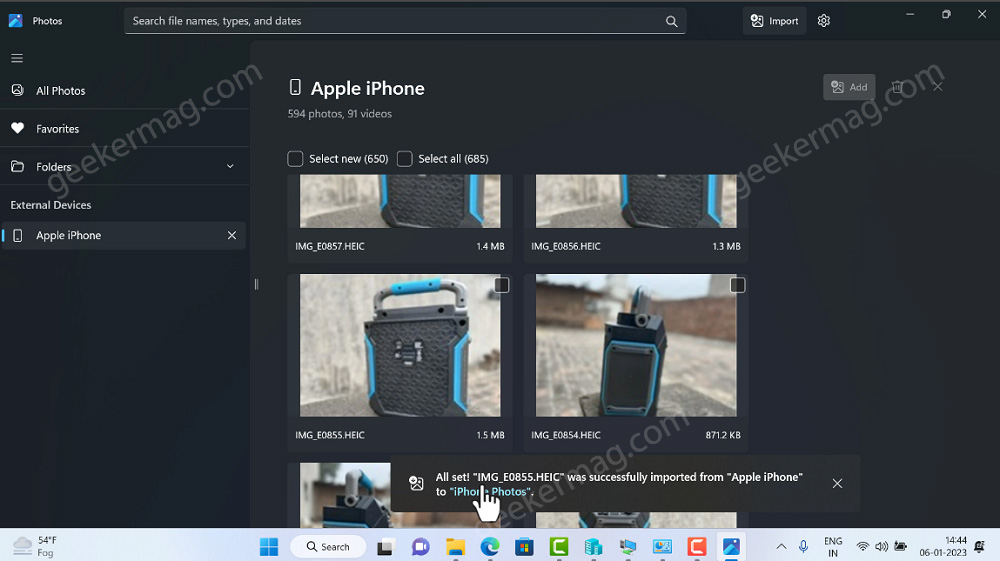
Once the process is completed, you will see a notification. After that, you can head over to the particular folder and access the photos.
Keep a Few things in mind:
- The method I have covered in this video is using the new Photos app that Microsoft has introduced in Windows 11 22H2 Update
- The Photos that you have imported from iPhone to Windows PC will be in .heic format.
- If you’re using the Legacy Photos app on Windows 11, then the process remains the same. It is possible that you find options with different menus.
- Windows 10 use the same Photos app, so the process to transfer Photos from iPhone to Windows 10 remains the same.
In case, you face any issues while transferring photos and video from iPhone to Windows 11 PC using this method or have any queries, then feel free to contact me any time.


