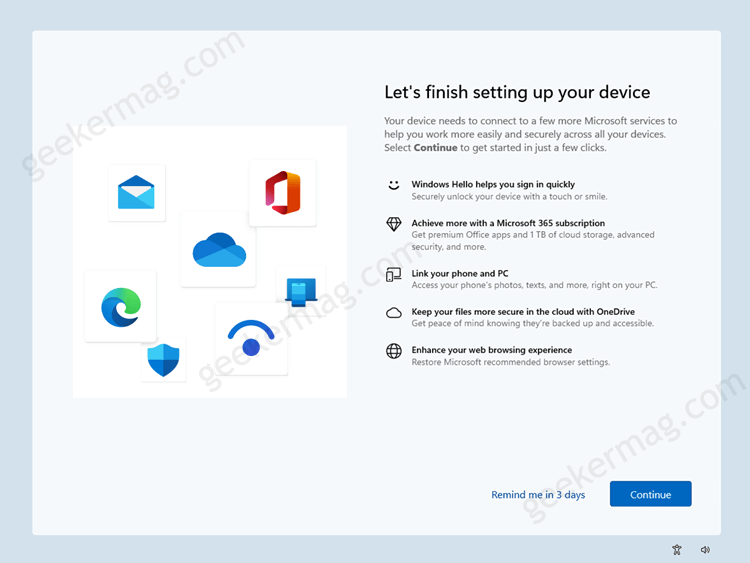
After installing feature updates on Windows 11 PC, a Windows welcome experience screen appears with the message “Let’s finish settings update your device” having information about what new features the current build adds to your PC.
You can either click on the Remind me later, or hit the Continue button to let the system help you in setting up your Windows 11 PC. The purpose of adding a Windows welcome experience set up is to help users, especially the newbie to give information about new features and recommendations.

There’s nothing wrong with showing the Windows welcome experience, especially when you’re setting up a Windows 11 PC for the first time. The reappearance of the same screen every time after installing feature updates and sometimes when logging in to the device is not a users friendly.
How to Disable “Lets finish setting up your device” screen in Windows 11
Due to this reason lots of users want to disable the “Let’s finish setting up your device” or “Windows welcome experience” screen in Windows 11. Fortunately, it is possible and in this blog post, you learn steps on how to do that:
Launch the Settings app on a Windows 11 PC by pressing WIN + I key combination.
Switch to the System tab on the left side. And then on the right side, you need to select Notifications.
On the Notifications settings page, you need to scroll down to the bottom and select Additional settings to unlock more options.

Here, you need to uncheck the box for option i.e. “Suggest ways to get most out of the Windows and finish setting up this device“.
And you’re done.
From now onwards, you will no longer see ‘Let’s finish setting up your device screen’ when you restart or log in to your Windows 11 PC.
Alternatively, if the option is unavailable for the step discussed above, and fails to turn off the Windows welcome experience screen, then you can try the Registry hack discussed below:
Click on the Search box option available on the Taskbar. Type regedit and when Registry Editor appears in the results, click to open it.
Head over to the following key: HKEY_CURRENT_USER\Software\Microsoft\Windows\CurrentVersion\UserProfileEngagement
In case, UseProfileEngagement Key is missing, then you can create it manually. For that, right-click on the Current Version, select New > Key, and name it UserProfileEngagement.
After that, select the ‘UserProfileEngagement’ key, right-click on it and select New > DWORD (32-bit) value and name it ‘ScoobeSystemSettingEnabled‘.

Double-click on this DWORD Value and set its Value data to 1.
After that, close the Registry editor and restart your computer to apply the changes.
How often do you see the “Let’s finish setting up your device” screen when you restart or login to a Windows 11 PC? Does the solution mentioned in this post help you in fixing the issue? Let me know in the comments.


