Want to upgrade to Windows 11 from Windows 10? But unable to do that because you own a PC with unsupported hardware or your PC doesn’t meet the minimum requirements to run Windows 11, then this blog post is dedicated to you.
Usually, when you try to upgrade from Windows 10 to Windows 11 using ISO image, it throws an error message i.e. “This PC doesn’t currently meet Windows 11 system requirements” with a list of possible reasons. Check the following screenshot for a clear idea:

How to Upgrade to Windows 11 from Windows 10 Unsupported Hardware
If you landed on this blog post, then it’s highly possible that you’re seeing the same right. Don’t worry, Below you will learn the trick using which you can bypass this and upgrade to Windows 11 on Unsupported PC. Here’s what you need to do:
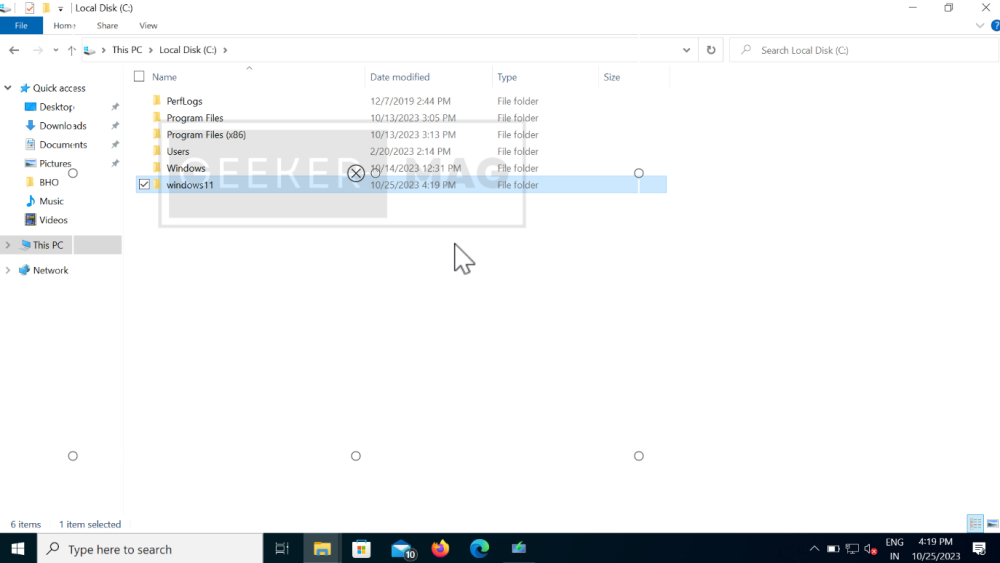
Open File Explorer, then open Windows Installation Drive i.e. C Drive.
Inside it create a new folder and name it ‘Windows11‘ or ‘Win11‘ or similar. I will name it Windows 11.
After that, locate the ISO file of Windows 11 that you have downloaded from the Microsoft Website or using the Media Creation tool. Learn How to Download Windows 11 ISO from Microsoft.

Double-click on the Windows 11 ISO image to mount it.
Open the drive assigned to the iso file.
Select all the files > copy them, and then paste them into the Windows11 folder that you have created in the previous step.
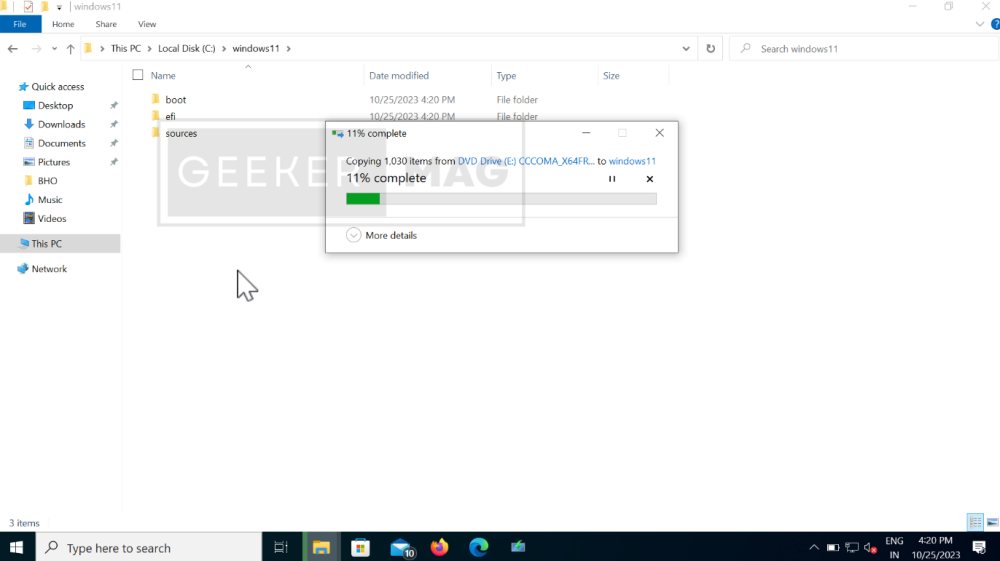
Once all the files are copied into the Windows11 folder. Open Command prompt with admin rights. For that, click on the search icon and type cmd, when Command prompts appear in search results, click Run as administrator.
When the UAC dialog box appears, click Yes to continue.
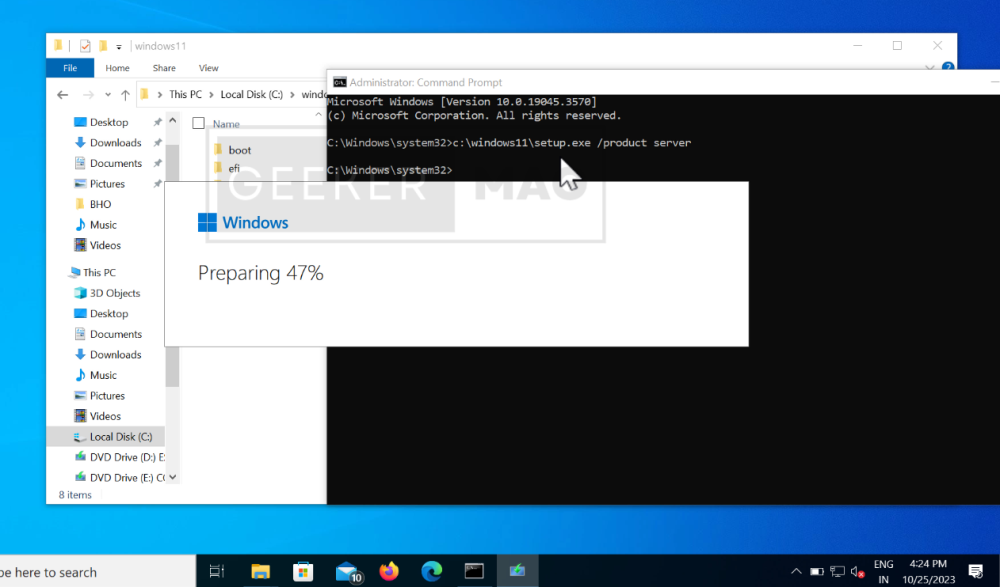
In the Command prompt window, you need to execute this command:
c:\window11\setup.exe /product serverIf you have named the folder other than, windows11, and win11, then you need to replace ‘windows11’ with that in this command.
After that hit enter. This will run the Windows 11 setup file automatically.

Now you will see a message “Install Windows Server” instead of Install Windows 11, don’t worry, this will not install Windows Server.
Click on the Next button and follow the on-screen instructions.
This will start the installation process. The process will take 30-40 minutes. During that time period, your PC will start several times. You can see following video for the detailed process.
Upgrade from Windows 10 to Windows 11 Unsupported Hardware (YouTube Video)
Although this method helps in upgrading to Windows 11 on a PC with unsupported hardware, you need to keep in mind that, you might experience various issues as you have installed Windows 11 forcefully.
I hope this helps!
So that’s all about this video. If you have any queries related to this trick, then feel free to ask via comments.


