Microsoft recently announced PowerShell 7. The blog post has instructions on how to download and install PowerShell 7 in Windows 10.
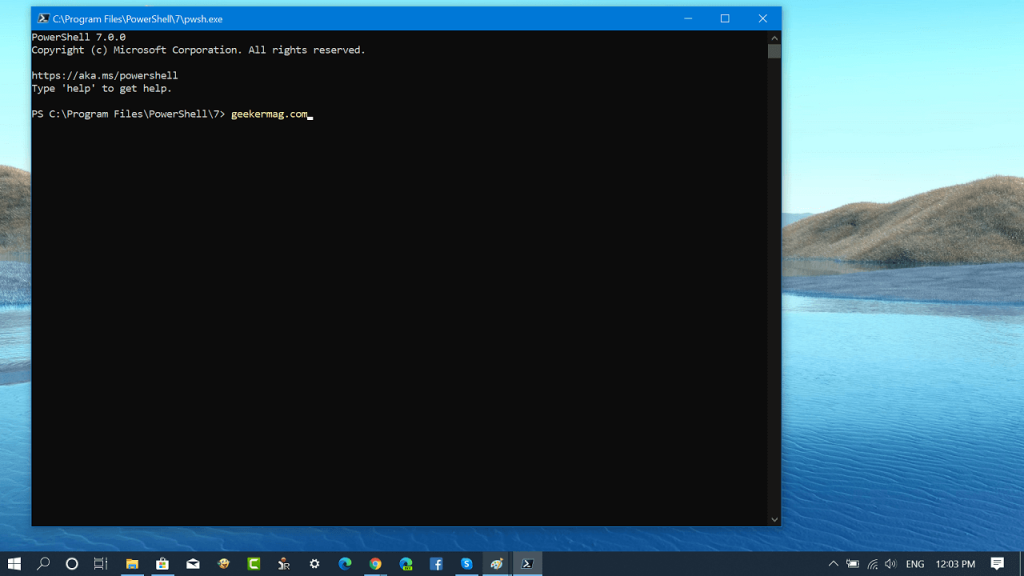
PowerShell is an advanced app similar to Command Prompt. The app has various ready to use cmdlets and has ability to use .net framework/c# in various cases. Windows contain a GUI tool, PowerShell ISE using which users can edit and debug scripts in many ways.
PowerShell 7, a.k.a PowerShell Core is a scripting solution available for Windows, Mac, and Linux.
Download and Install PowerShell in Windows 10
In case, you want to try PowerShell 7 on your computer, then here’s how you can download and install it.
1. Visit PowerShell 7 GitHub page and head over to the Assets section.
2. In this section, look for PowerShell 7 MSI version with the name
- PowerShell-7.0.0-win-x64.msi
- PowerShell-7.0.0-win-x86.msi
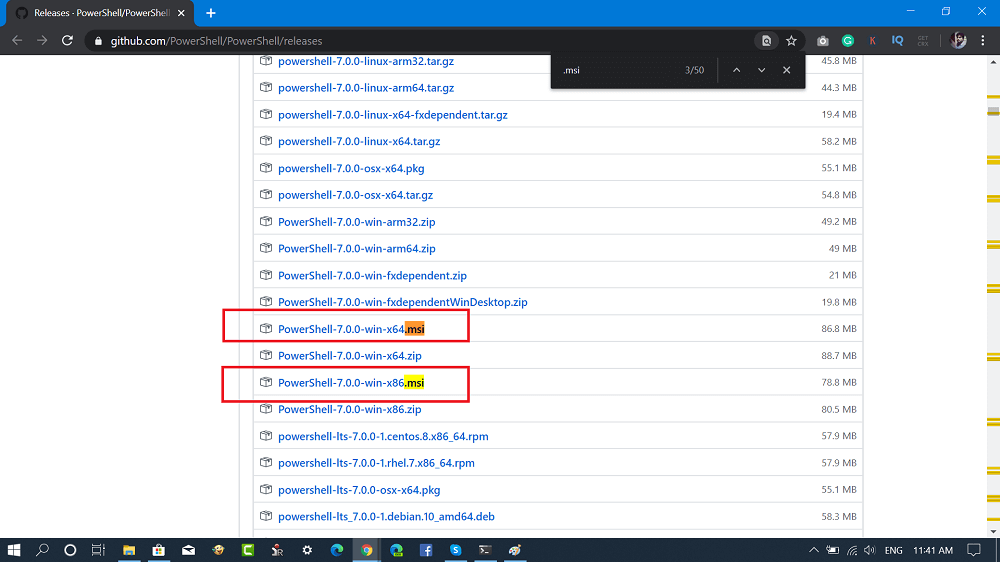
You can click to download the .msi file setup file depending on your system Windows version.
3. Once you grab the setup file, run it. Just like any other .msi setup file follow the instructions.
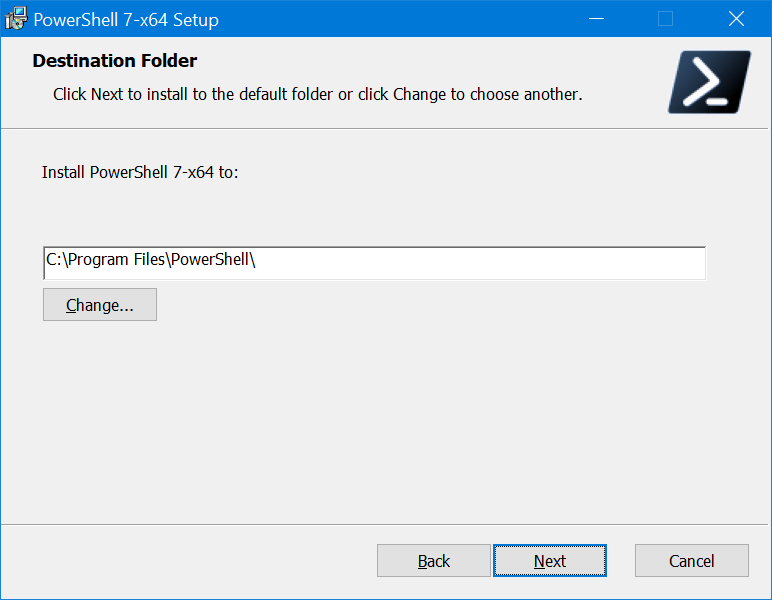
During installation, you can change the install file location and add the application to the context menus to Explorer.
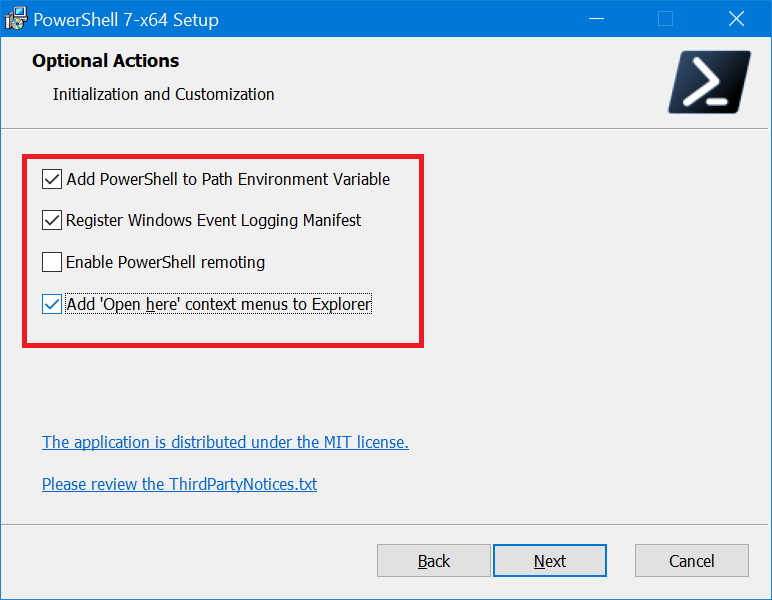
Also, if UAC dialog box appears, click Yes to continue.
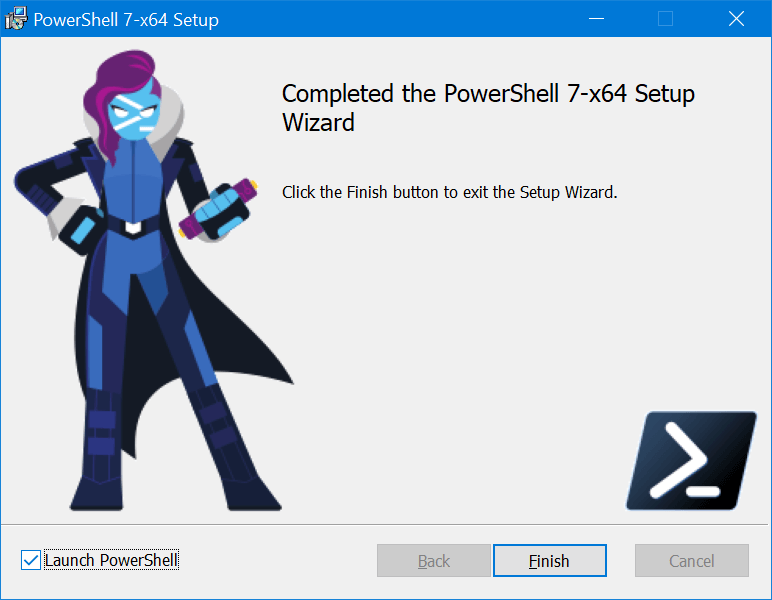
To launch the app just after installing it, you can check the box for the option that reads “Launch PowerShell“.
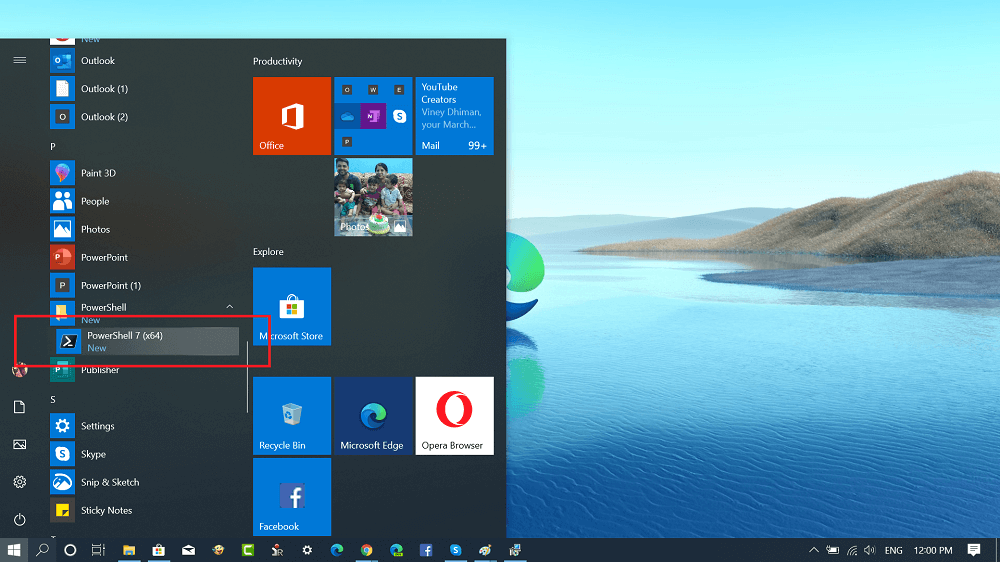
Apart from this, you can also launch the PowerShell 7 app from the Windows 10 Start menu.
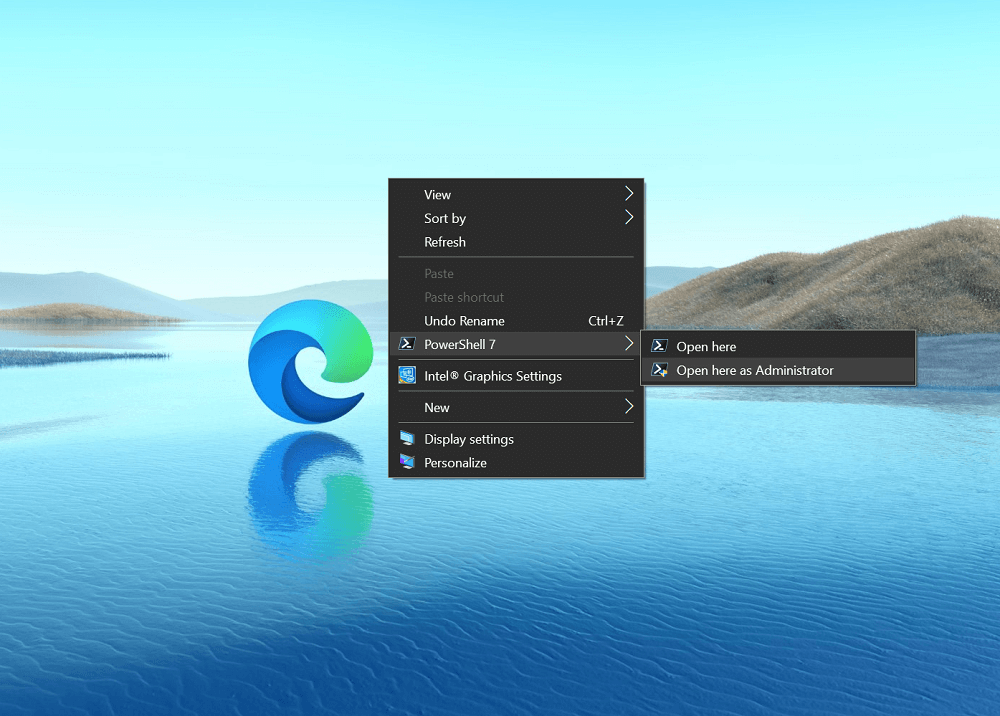
You can also launch the app from the context menu in File Explorer.
PowerShell 7 is an amazing app launch by the company. The cross-platform edition of the scripting language engine offer various things which include:
- New logical operators
- Automatic update check
- New Get Error command to quickly handle runtime errors
- Various options to process structured data in various formats like JSON, XML, CSV, and more.
What are your thoughts about PowerShell 7 app for Windows 10? Find it useful? We would like to hear from you in the comments.


