If you have a Dell laptop and an iPhone, then it is now possible to transfer files using the Dell Mobile Connect app.
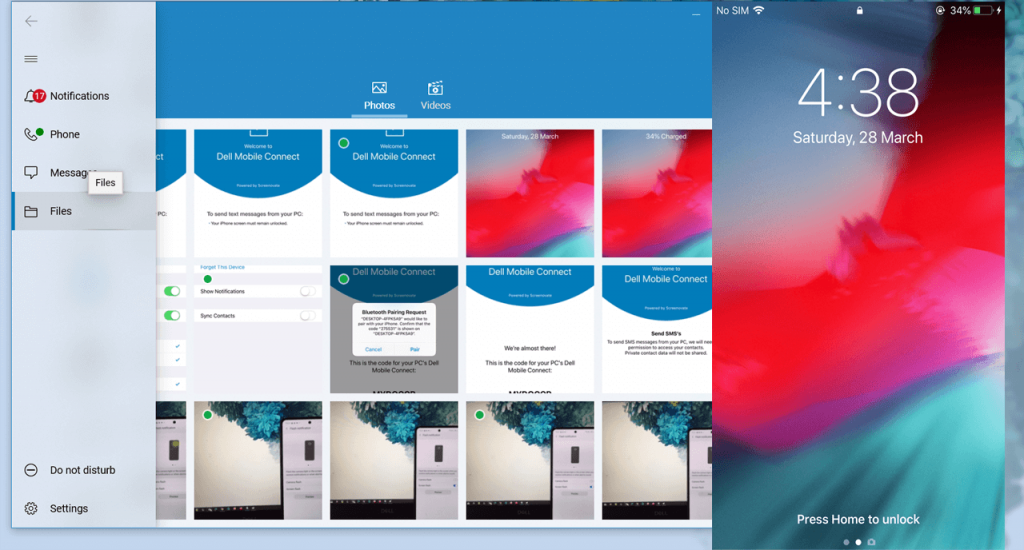
In CES 2020, Dell promised that they will make the Mobile Connect app more iPhone friendly by adding iOS integration features. With Dell Mobile Connect v3, it is now possible to control your device using your PC Mouse and Keyboard.
The update also supports screen mirroring, hand-free phone calls, text messaging, contact search, notification, and even more when your device is paired with iOS devices.
One of the best features of this update is that you can also drag-drop pictures and video files between the devices.
Transfer Photos from iPhone to Windows 10 using Dell Mobile Connect
In this blog post, we will show you how to connect Windows 10 PC and iPhone and iPad. Later, transfer photos and videos to your computer. Here’s how you can do that:
What You’ll Require
- Download Dell Mobile Connect app for Windows 10 | Microsoft Store
- Download Dell Mobile Connect app iOS device | Apple Store
Minimum Requirements
- You need the latest version of Windows 10 on your PC.
- Your iPhone or iPad needs to be running iOS 11 and iOS 13 for screen mirroring.
Instructions to transfer files from your iPhone to Windows 10 PC
1. Connect the iPhone to your Windows 10 PC using original data cable.
2. Launch Dell Mobile Connect app on your both Windows 10 and iOS device.

Click on the Get Started button
3. In the Connect Your Phone to Your PC screen, you need to enter the code that will appear on the Dell Mobile Connect app on your phone.
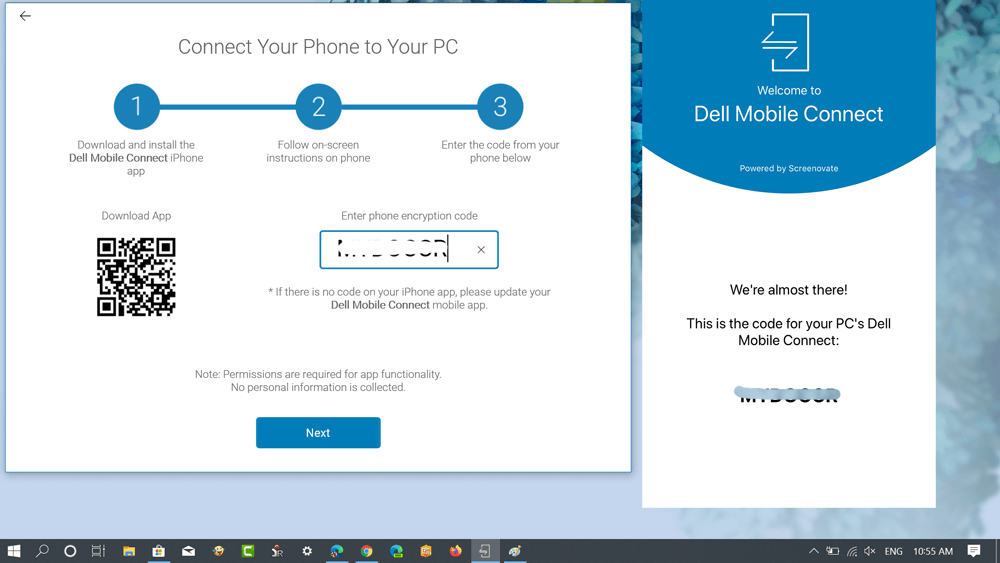
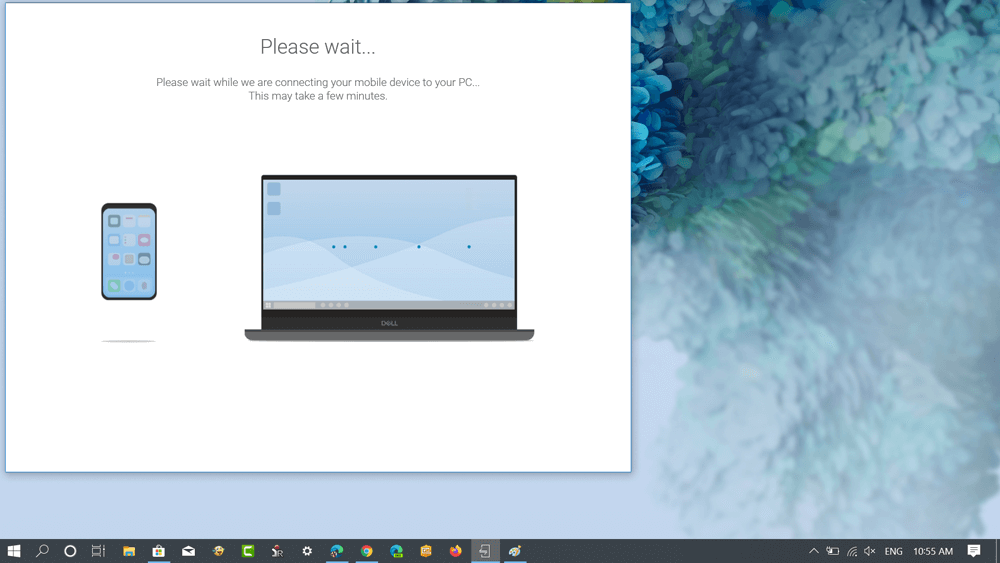
4. Next, you need to wait for a few seconds.
5. After that, accept pairing code on both devices to link the devices. Make sure to click on the Pair button on the “Bluetooth Pairing Request“
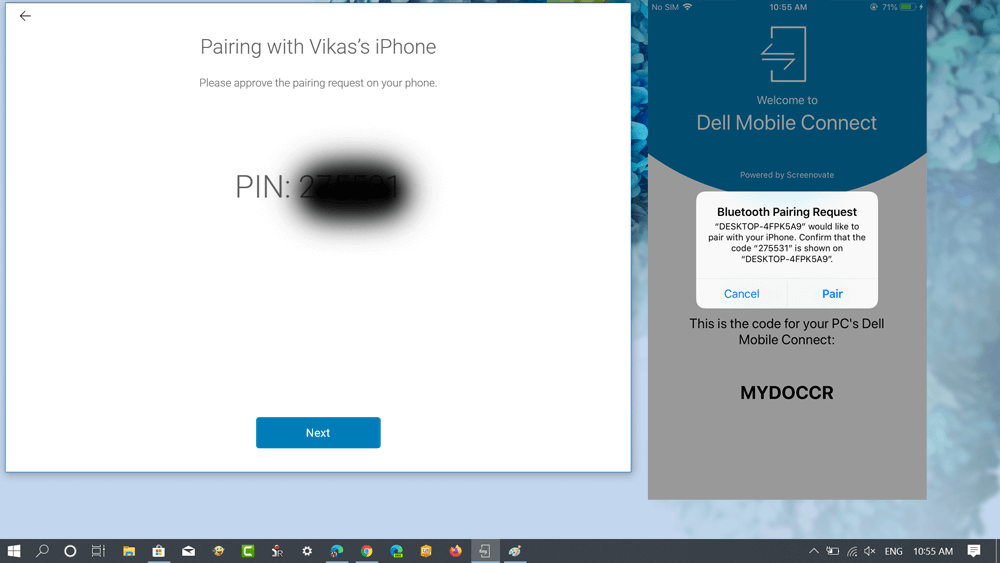
Next, you will see the following screen back to back:
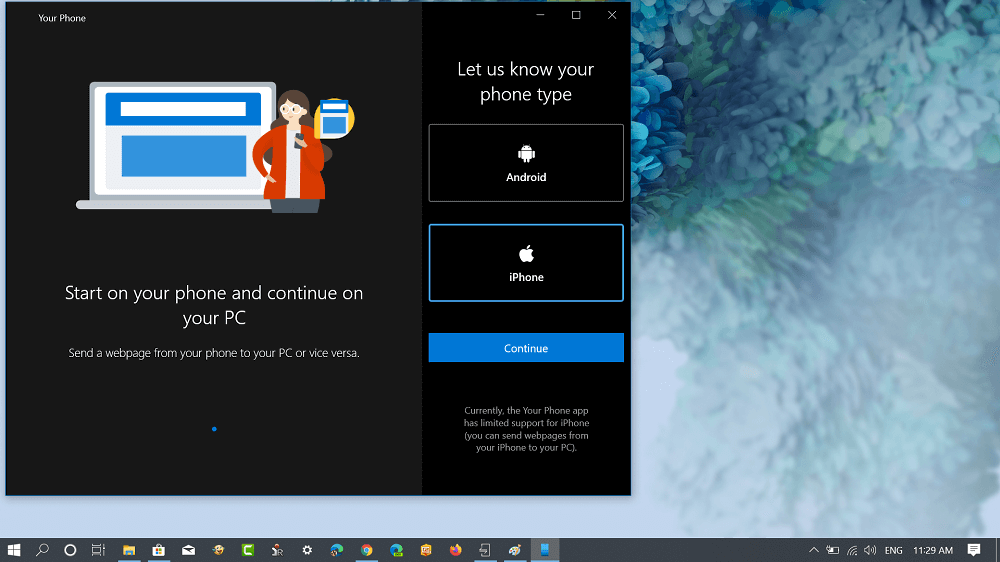
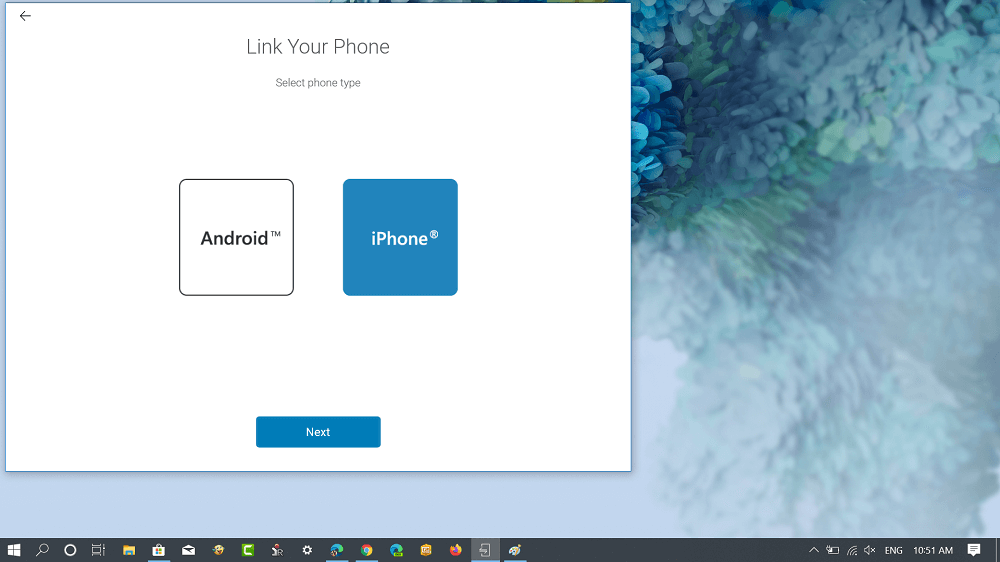
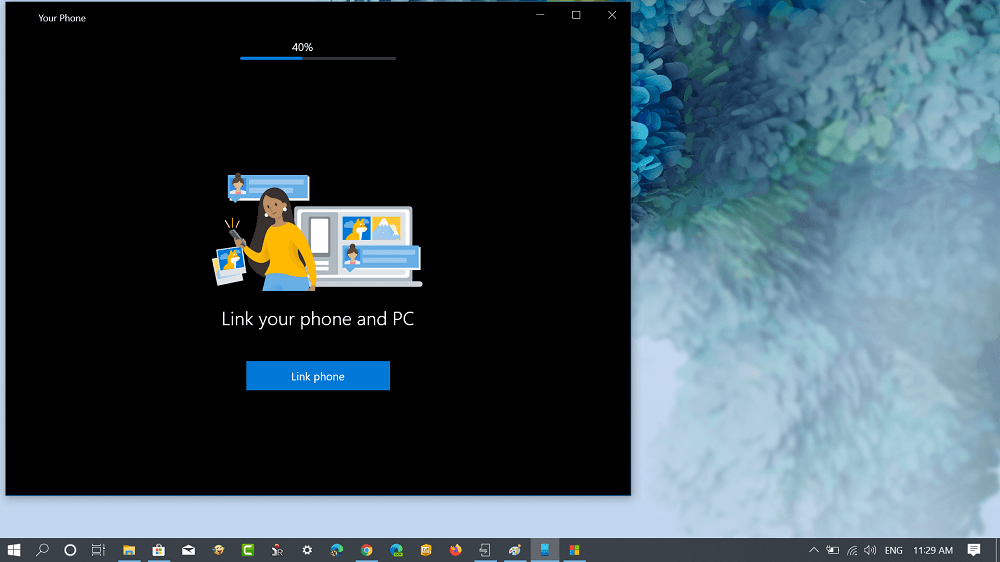
Once done. You’re good to go.
6. Launch Dell Mobile Connect app on the computer. This is how it looks like:

Here, you need to switch to Files and you will get a list of Photos and Videos.
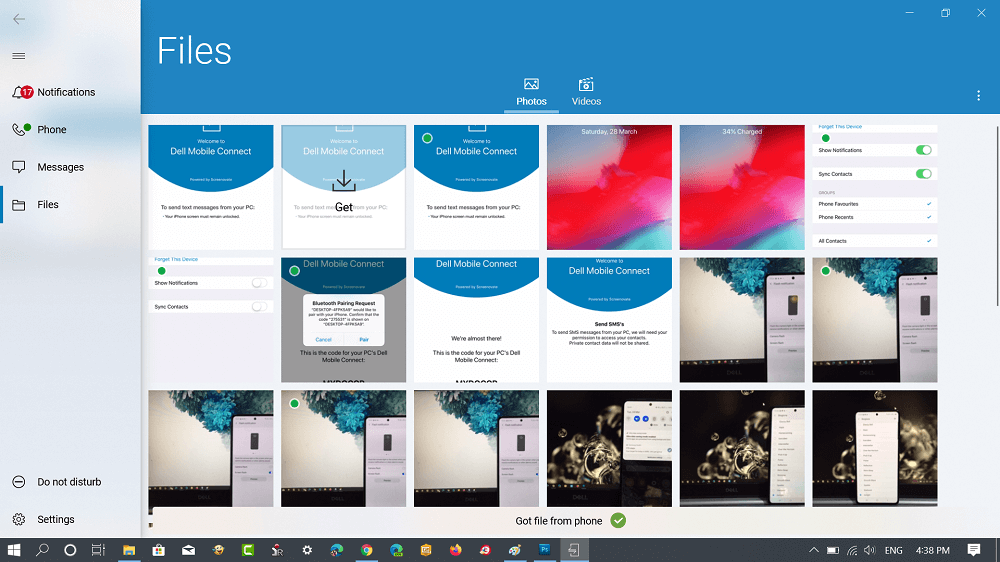
To save any photo, you need to hover on particular picture and then click on the Get button.

Wait unless you see Ready option in the thumbnail.
Now to save the photo on your computer, you need to double click on the Photo and it will open up in Photos app.
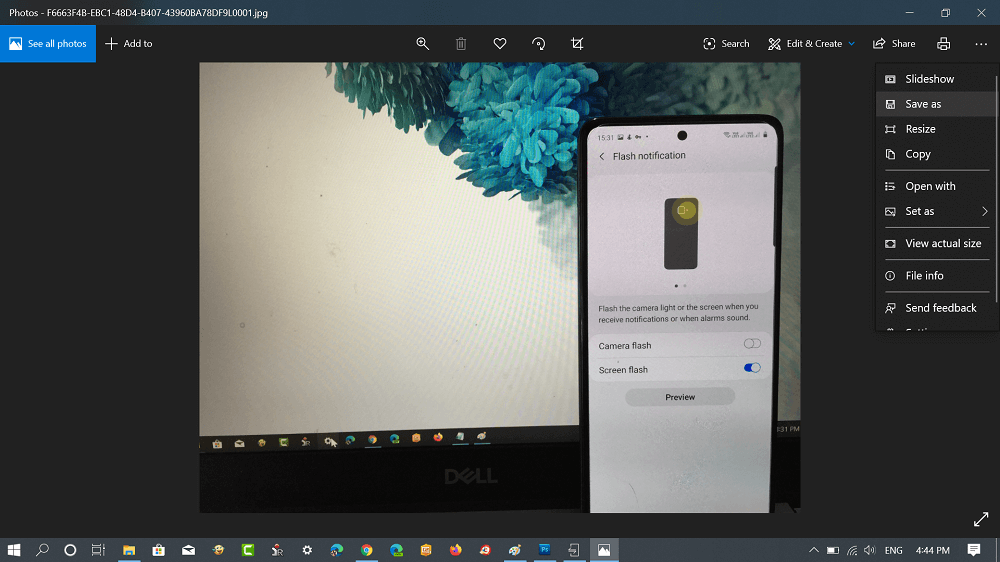
Next, click on the (…) See more icon and select Save as and save the photo to your computer.
Following the same procedure, you can also save videos to your computer. Apart from, you can also check out other options.
You might be interested in reading – How to Access Android Phone from Windows 10 PC using Your Phone.


