The following blog post has possible ways How to Uninstall Windows 11 and Go Back to Windows 10 without losing data.
If you’ve recently upgraded to Windows 11 and now want to roll back to Windows 10 because you encounter bugs, compatibility problems, and poor performance due to unfinished features.
No matter what is your reason behind going back to Windows 11. The good thing is there are two ways to make that thing happen. You can use the Recovery settings (easy one) or the Media Creation tool (time taking but easy).
In this blog post, we will cover both methods on how to restore Windows 10 from Windows 11 with step-by-step instructions. You can pick the one depending on your current situation.
How to Uninstall Windows 11 and Go Back to Windows 10
The very first option to revert to Windows 10 from Windows 11 is through the settings app. Although it’s an easy method, you need to keep a few things in mind:
- You will get access to this feature only for 10 days after upgrading to Windows 11. Learn how to extend it from 10 days to 60 days in Windows 11.
- If you have deleted the ‘Windows.old’ folder (that keeps Windows 10 backup) on your installation drive, then also you will not be able to roll back to Windows 10 from Windows 11.
- If you have installed Windows 11 via performing a clean installation, then again you won’t find this option to go back.
Now you’re aware of when you will be able to use the Settings app to go back to Windows 10 from Windows 11, then here’s how you can do that:
Open the Settings app on Windows 11 PC by pressing the Windows + I key combination.
Switch to the System tab and then on the right side, select Recovery.
Here, you will find a Previous version of the Windows option. You need to click on the Go back button and follow the on-screen instructions.
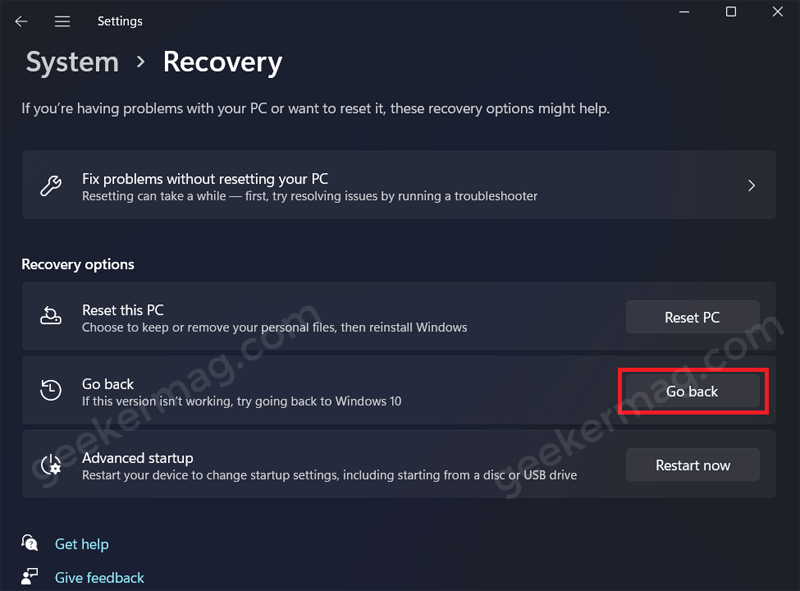
Note – If you see this option is no longer available for your PC, then head over to the second method.
You will see the following screens back to back:
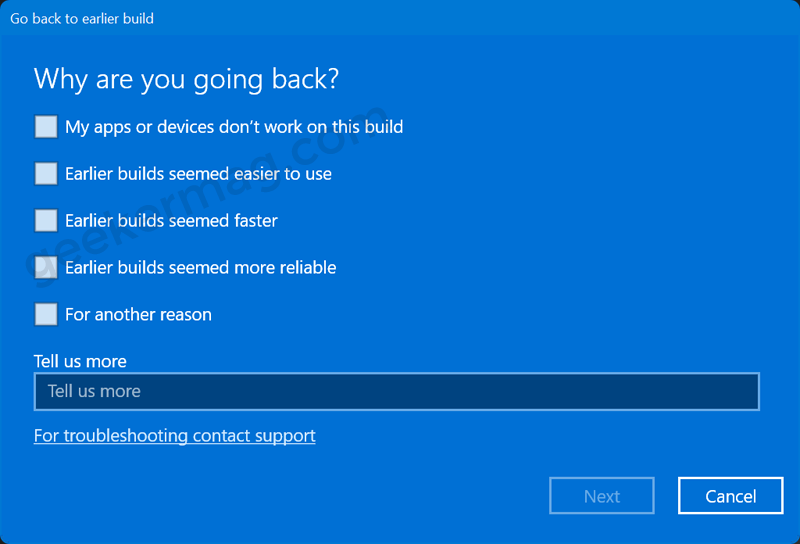
Why are you going back – give the reason why you’re going back to Windows 10
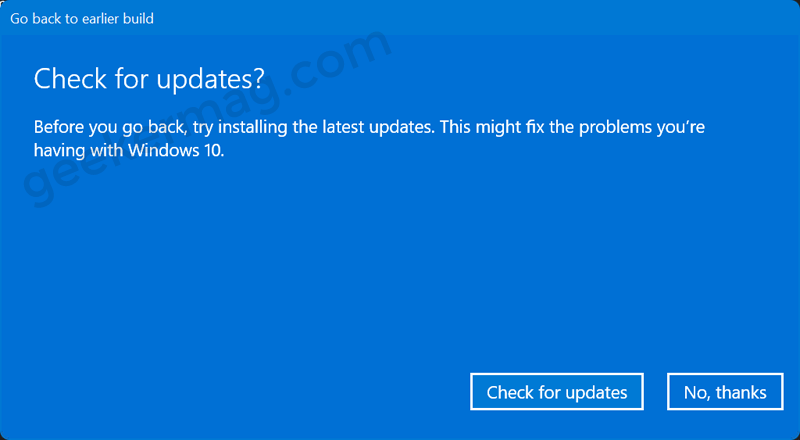
Check for updates – select the No thanks option
What you need to know – Information about what will happen when you revert back to Windows 11.
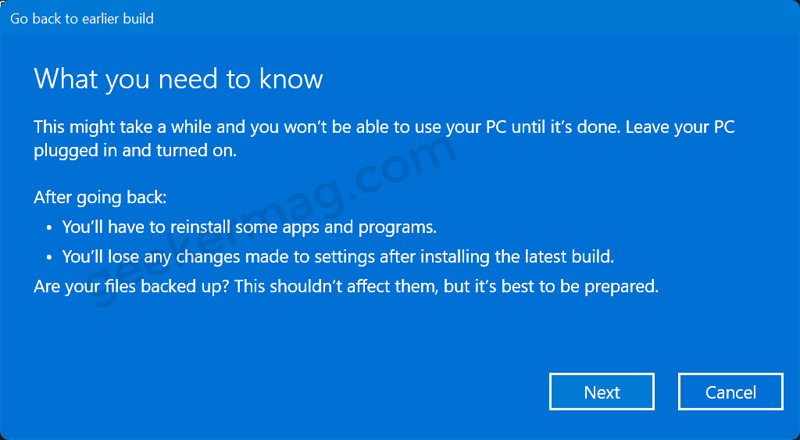
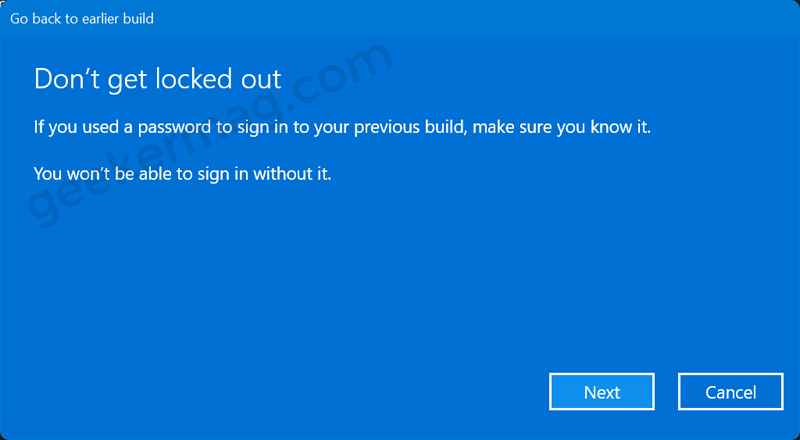
Don’t get locked out – If you have a set PIN or Password so make sure you know it.
Thanks for trying out this build – Click on Go back to an earlier build.
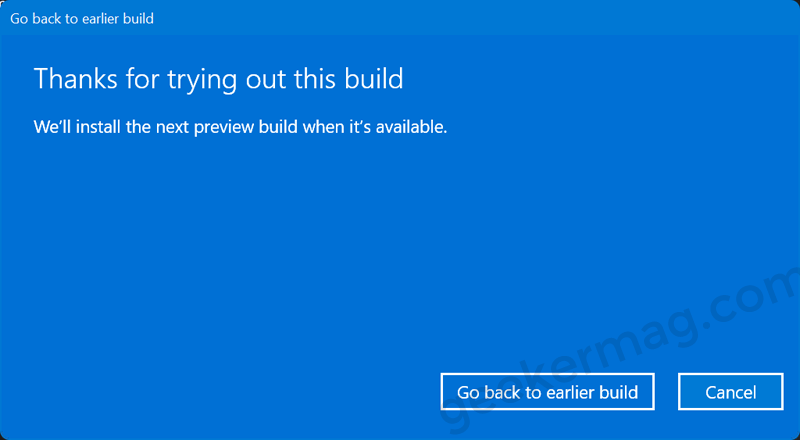
Once you click on the Go back to the earlier build button. Your system will start preparing the rollback to Windows 10 and reboot automatically.
After the process is completed, your system will be rolled back to Windows 10 from Windows 11.
How to Go back to Windows 10 from Windows 11 after 10 Days without losing data
If you made it upto this method, then it’s possible that the above method is no longer working for you. In this situation, the final solution available for you is to reinstall Windows 10 using the Media Creation tool.
Before you continue with this step, ensure you take a backup of your files. As we will be performing a clean install, all of your files will be removed, so you will have to take a backup of them.
Here’s what you need to do:
Download the Windows 10 Media Creation Tool from the official website.
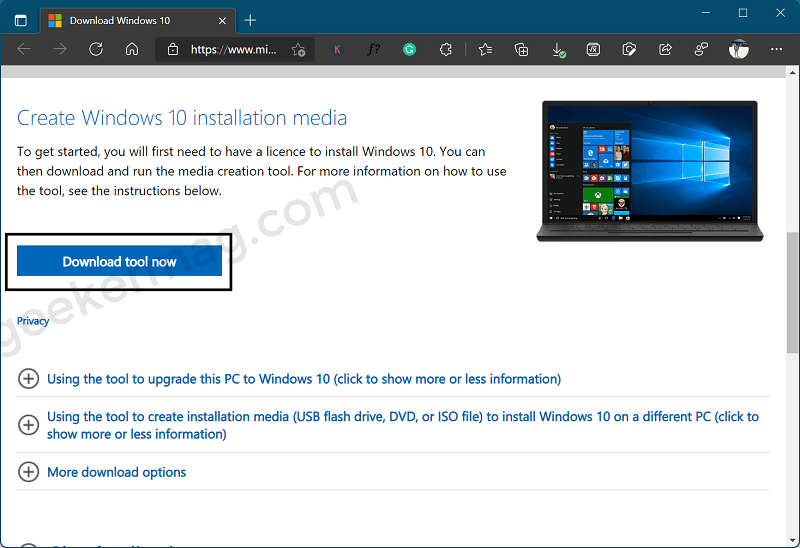
Double-click on the setup files to run it. During the process, you will be asked to access license terms. Click on Accept.
Next, you will be given two options; Upgrade this PC now and Create installation media for another PC.
Here, you need to select, the Upgrade this PC now option and then click on the Next button.

The Media Creation tool will start downloading the latest version of Windows 10 available.
On the next screen, you will see three options; Keep personal files and apps, Keep personal files online, and Nothing.
Here, select Nothing and then click on Next.
Now follow the on-screen instructions, and Windows 10 will be installed on your device.
As simple as that!
So these are two possible ways on how to Go back to Windows 10 from Windows 11. Why don’t you try these solutions and let us know which method works better for you?


