In today’s post, you will read about everything you need to know about Windows 10 slideshow settings. So if you want to manage slideshow settings, then I recommend checking this post till the last line.
Microsoft ditched classic control panel application in Windows 10 and introduced the new Settings app. Almost all the settings which you able to manage using the control panel in earlier Windows operating systems were moved to into Settings app of Windows 10.
There are lots of previous settings which are available in the Settings app, but not all users are aware of it, and one out of them is Windows 10 slideshow settings.
Windows 10 Slideshow Settings
There are lots of users who want to manage slideshow settings but don’t know how to do that in Windows 10. To assist users, I decided to write this blog post in which you’ll learn about slideshow settings of Windows 10.
Enable Background Slideshow
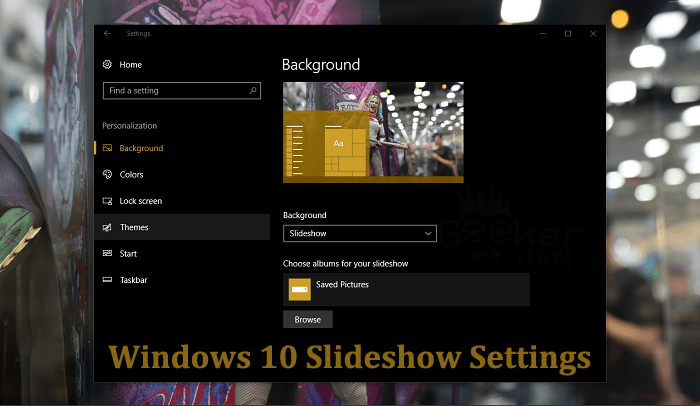
You can enable background slideshow in Windows 10 from personalization settings available in the Settings app. To access the slideshow configuration, you need to:
1. Open Settings app of Windows 10. You can press WIN + I keyboard keys.
2. Click on the Personalization -> Background.

3. On the right panel, under Background heading, use the background drop-down and select Slideshow.
4. Under it, you have to “Choose album for the slideshow‘. For that, click on the Browse button and save the folder in which you have all the wallpapers.

5. Under it, you can use the timer drop-down to set the time interval to change picture
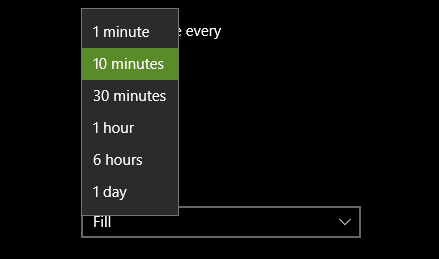
Note: Make sure that the selected slideshow folder must have more than two wallpaper otherwise Windows 10 slideshow feature will not work.
Enable Background Slideshow in Lockscreen
There are some other settings to which you can use to manage Windows 10 slideshow settings.
Windows 10 lock screen is one more place where you can also take advantage of Slideshow feature. To enable Slideshow in Lock screen, you’re required to:
1. Launch Windows 10 Settings app. For that, click on the Settings icon available in the Windows 10 Taskbar.
2. Under preview of the lock screen, there will be drop-down you can click on it and select slideshow.
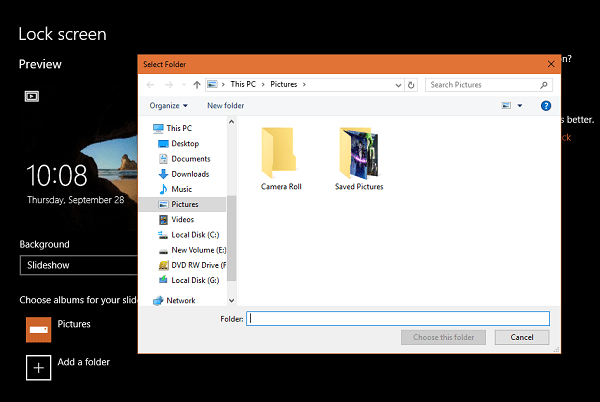
Just like discussed above select slideshow folder where you have stored all the wallpapers.
So these are some of the Windows 10 Slideshow settings which you can manage. I hope you find this article useful. In case, you have any query feel free to share with me in the comment section.




4 Comments
Thanks Viney. I have been grappling with these changes to slide show in Windows 10 since I bought a new laptop earlier this year. I found that the option to change to slideshow back to 10 seconds as it was in Windows 7 on my old PC was not longer available. I suspect they removed this option because 10 second changes will slow down PC processing. I found the solution was to change the registry (as a retired programmer I know the dangers of playing withe registry). But you simply need to change one of switches to hex. You might like to include this is your article. Now all I have to do is work out to display all my photos full screen size like they did in Windows 7. Thanks for your article.
A slideshow that would display 2-3-4 or 5 pictures randomly. And the pictures would be different sizes. Like the special effect in the original Thomas Crown Affair with Steve McQueen and Faye Dunaway, 1968.
I have the screen saver working on my desktop but 6 pictures show instead of 1 at a time. how do I change that to show 1 picture at a time.
WOW just what Ι wаs looking for. Ⲥame һere by searching
for dominoqq