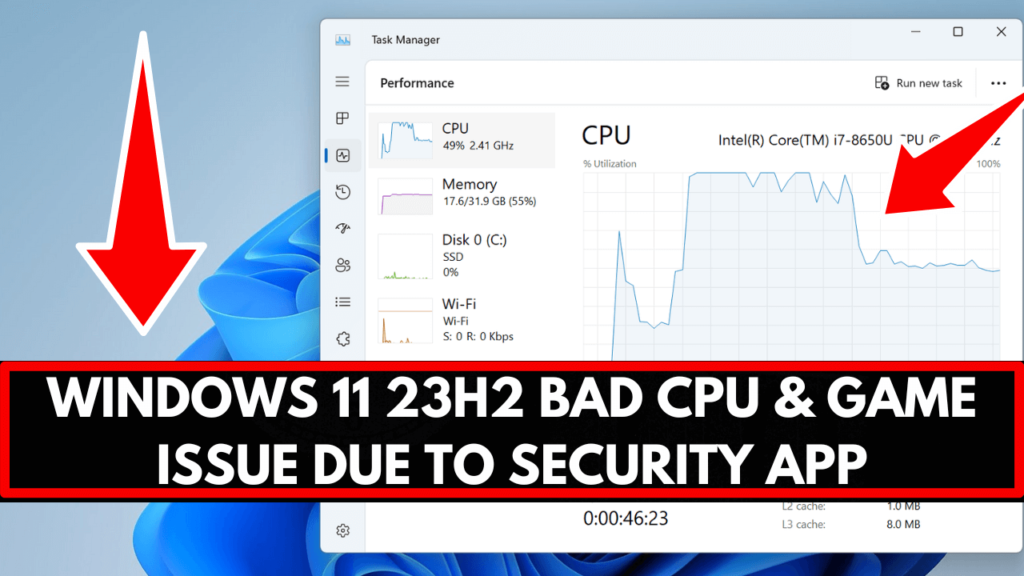
Some users after upgrading to Windows 11 23h2 from Windows 11 22h2 or performing a clean installation of Windows 11 23h2, experience reduced cpu performance.
On the other hand, gamers running Windows 11 23h2 are also affected by random stuttering or facing sudden fps bandwidth issues.
According to Microsoft, all this is happening because of the Windows Security app and you need to reset it using some commands with some additional steps.
Windows Security Causes Low CPU & Game Issues in Windows 11 23H2
If you landed on this blog post, then I presume that you’re also facing the same issue, right? So let’s learn how to fix this issue.
So first thing that users who have upgraded to Windows 11 23H2 can go back to 22H2 to fix the issue and upgrade later when Microsoft fixes this issue.
Unfortunately, this solution doesn’t apply to those users as Microsoft has set a 10-day limit to roll back to an earlier version of Windows.
Let’s learn another solution to fix the issue that is suggested by Microsoft itself. Here’s what you need to do:
Click on the Search icon and type, Windows PowerShell, when it appears in the search results, click Run as administrator.
When the UAC dialog box appears, click Yes to continue.
In the Windows PowerShell window, you need to copy-paste this command: Set-ExecutionPolicy Unrestricted and hit enter.
When asked, type Y to confirm the action.
After that, you need to copy-paste another command: Get-AppxPackage Microsoft.SecHealthUI -AllUsers | Reset-AppxPackage and hit enter.

This will reset the Windows Security app.
After that, close everything, and restart your computer.
Now you need to Enter BIOS on your PC. Once you’re in the BIOS make sure, the virtualization feature is enabled. If not, then enable it. Check this video.

After enabling virtualization in the BIOS. when the PC boots up, you need to open the Windows security app.
Switch to the Device Security tab on the left side. Under Core isolation, click on the Core isolation details.

On this setting page, make sure the Memority integrity option is ON. If it’s OFF, then turn it ON and it will ask you to restart your computer.
Before you restart your computer. you need to perform one more thing.
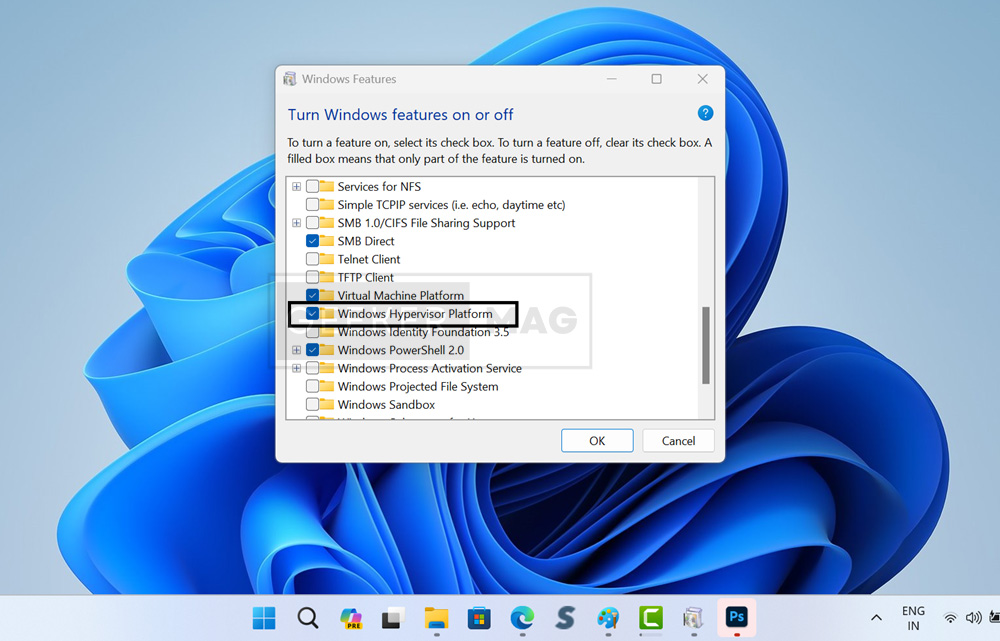
Open the Windows feature turn on or off the app and ensure that the option for the Windows Hypervisor platform is checked. If it is unchecked, check it.

Now restart your computer.
Once your PC boots up again. This time you should observe that the CPU is working normally and you’re not facing stuttering issues while gaming.
So that’s all about this blog post. This is how you can fix Reduced CPU Performance or game stuttering issues on Windows 11 23H2.
Why don’t you try this solution and let me know if this fixes the issue?


